

The Chilean Barros Luco Sandwich
Last month, with a big assist from the Bay Essence blog, I wrote something like 3000 words about a ham and cheese sandwich. Not just any ham and cheese sandwich–the Barros Jarpa, an inexpensive favorite breakfast option in Chilean cafes. It was a lot of work and research for something so simple, but the results were fantastic, and even got this site a bit of international attention. This month, thanks to the magic of alphabetization, we’re covering that sandwich’s big brother, the Barros Luco–a sandwich of thinly-sliced steak and melted cheese.
I thought that much of what I learned in my pursuit of the Barros Jarpa would apply to this sandwich, but I had an idea I’d try using different kinds of common Chilean condiments this time around. I’ve read that Chileans commonly combine mayonnaise, tomato and avocado on their sandwiches and call that style italiano after the colors of the Italian flag, and I thought I’d try it that way. I’d also read about a sauce called pebre that was commonly used on meats or sandwiches. Once again, I reached out to Francisco at Bay Essence for some advice.
“The Barros Luco is my favorite sandwich,” Francisco told me. “The meat can be filete or churrasco; it has to be thin so it’s easy to eat. Filete is the best meat.” Filete in Chile literally means steak–specifically sirloin–but colloquially also means something being of the best quality. I asked about the bread again, and mentioned a few examples of Chilean breads like pan frica or marraqueta. His preference was for pan amasado, a flaky, crusty Chilean bun for which I was able to find several recipes that Francisco thought might work.
For the cheese, he suggested “mantecoso or ranco, one that tastes good melted and still has some consistency.” My substitute for queso mantecoso last time was Gouda, though I did not settle definitively on that as an exact analog to the elusive Chilean cheese–it was perfect with the ham, but I’ve been thinking that havarti might be a closer match for mantecoso. And then when I googled queso ranco, the first result was a Spanish-language Wikipedia page on Gouda, so I’m guessing that gouda maps closer to ranco anyway. So I figured I’d try both havarti and gouda and see which I liked better.
What about adding the mayo, tomato, and avocado? “It wouldn’t be a Barros Luco,” he replied definitively. I never did hear back from him what he thought about adding pebre, but I left it alone ’cause I wanted to try making some anyway.
Discovering Pebre
From what I’d read about pebre, I understood it essentially to be a Chilean take on chimichurri where the featured herb was cilantro instead of parsley. This either sounds delicious to you, or it sounds like a big old mouthful of garlicky soap. Some people have a genetic sensitivity to certain compounds in cilantro that cause them to perceive the flavor as soapy. My sister is one of them. Luckily, I wasn’t making this sandwich for her.
Most of the recipes I found, though, used a generous amount of tomatoes, turning a powerful combination of herbs and alliums into something that could easily be mistaken for a pico de gallo instead. That’s not what I was going for, so I kept digging and found several recipes that hewed closer to my vision. As I often do, I liked different features of different recipes without ever finding one that hit every flavor I was looking for. I ended up creating my own recipe, combining all the features I liked and hopefully ending up at least somewhat close to authentic.

“Not Quite Chilean” Pebre Sauce
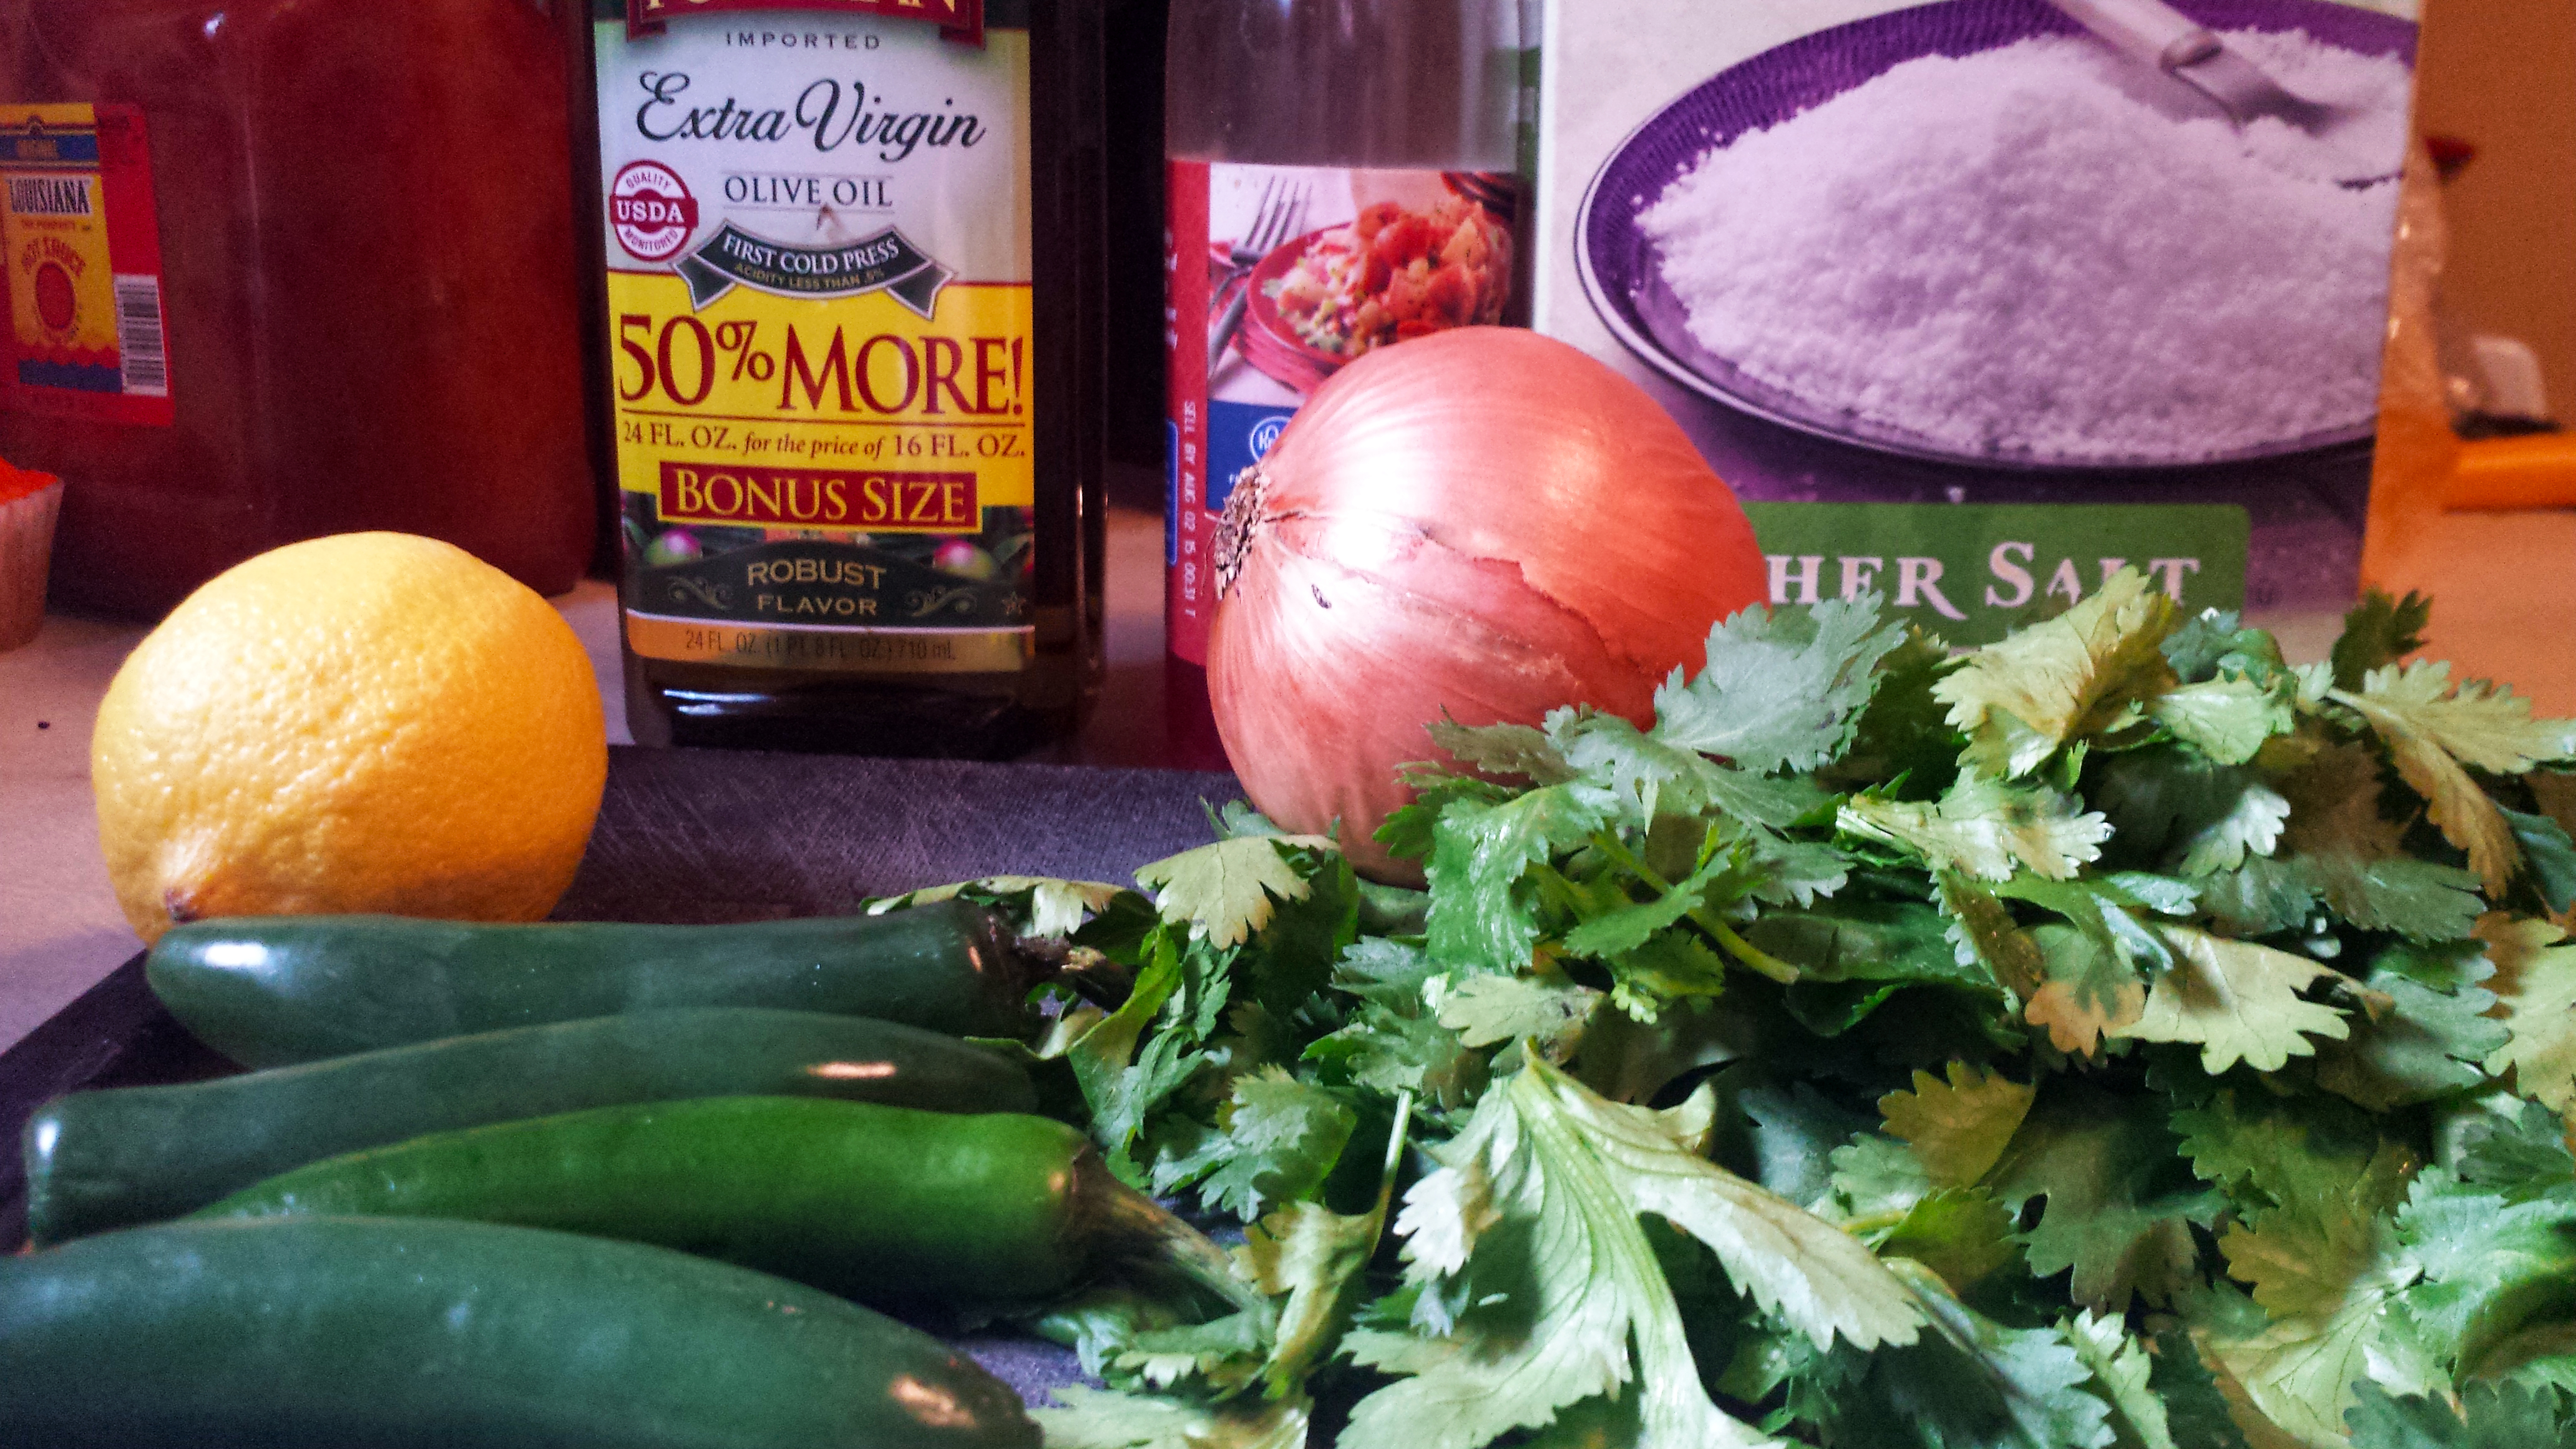
Ingredients
- 1 bunch cilantro large stems removed, roughly chopped
- 1/2 yellow onion chopped
- 5 cloves garlic minced
- 2 serrano chili peppers seeds and veins removed, chopped
- juice of 1 lemon
- 2 tbsp red wine vineger
- 1 tsp kosher salt
- 1/2 cup extra virgin olive oil
Instructions
- combine all ingredients except olive oil in blender. blend on medium setting
- slowly pour in olive oil while blending
- continue blending until smooth
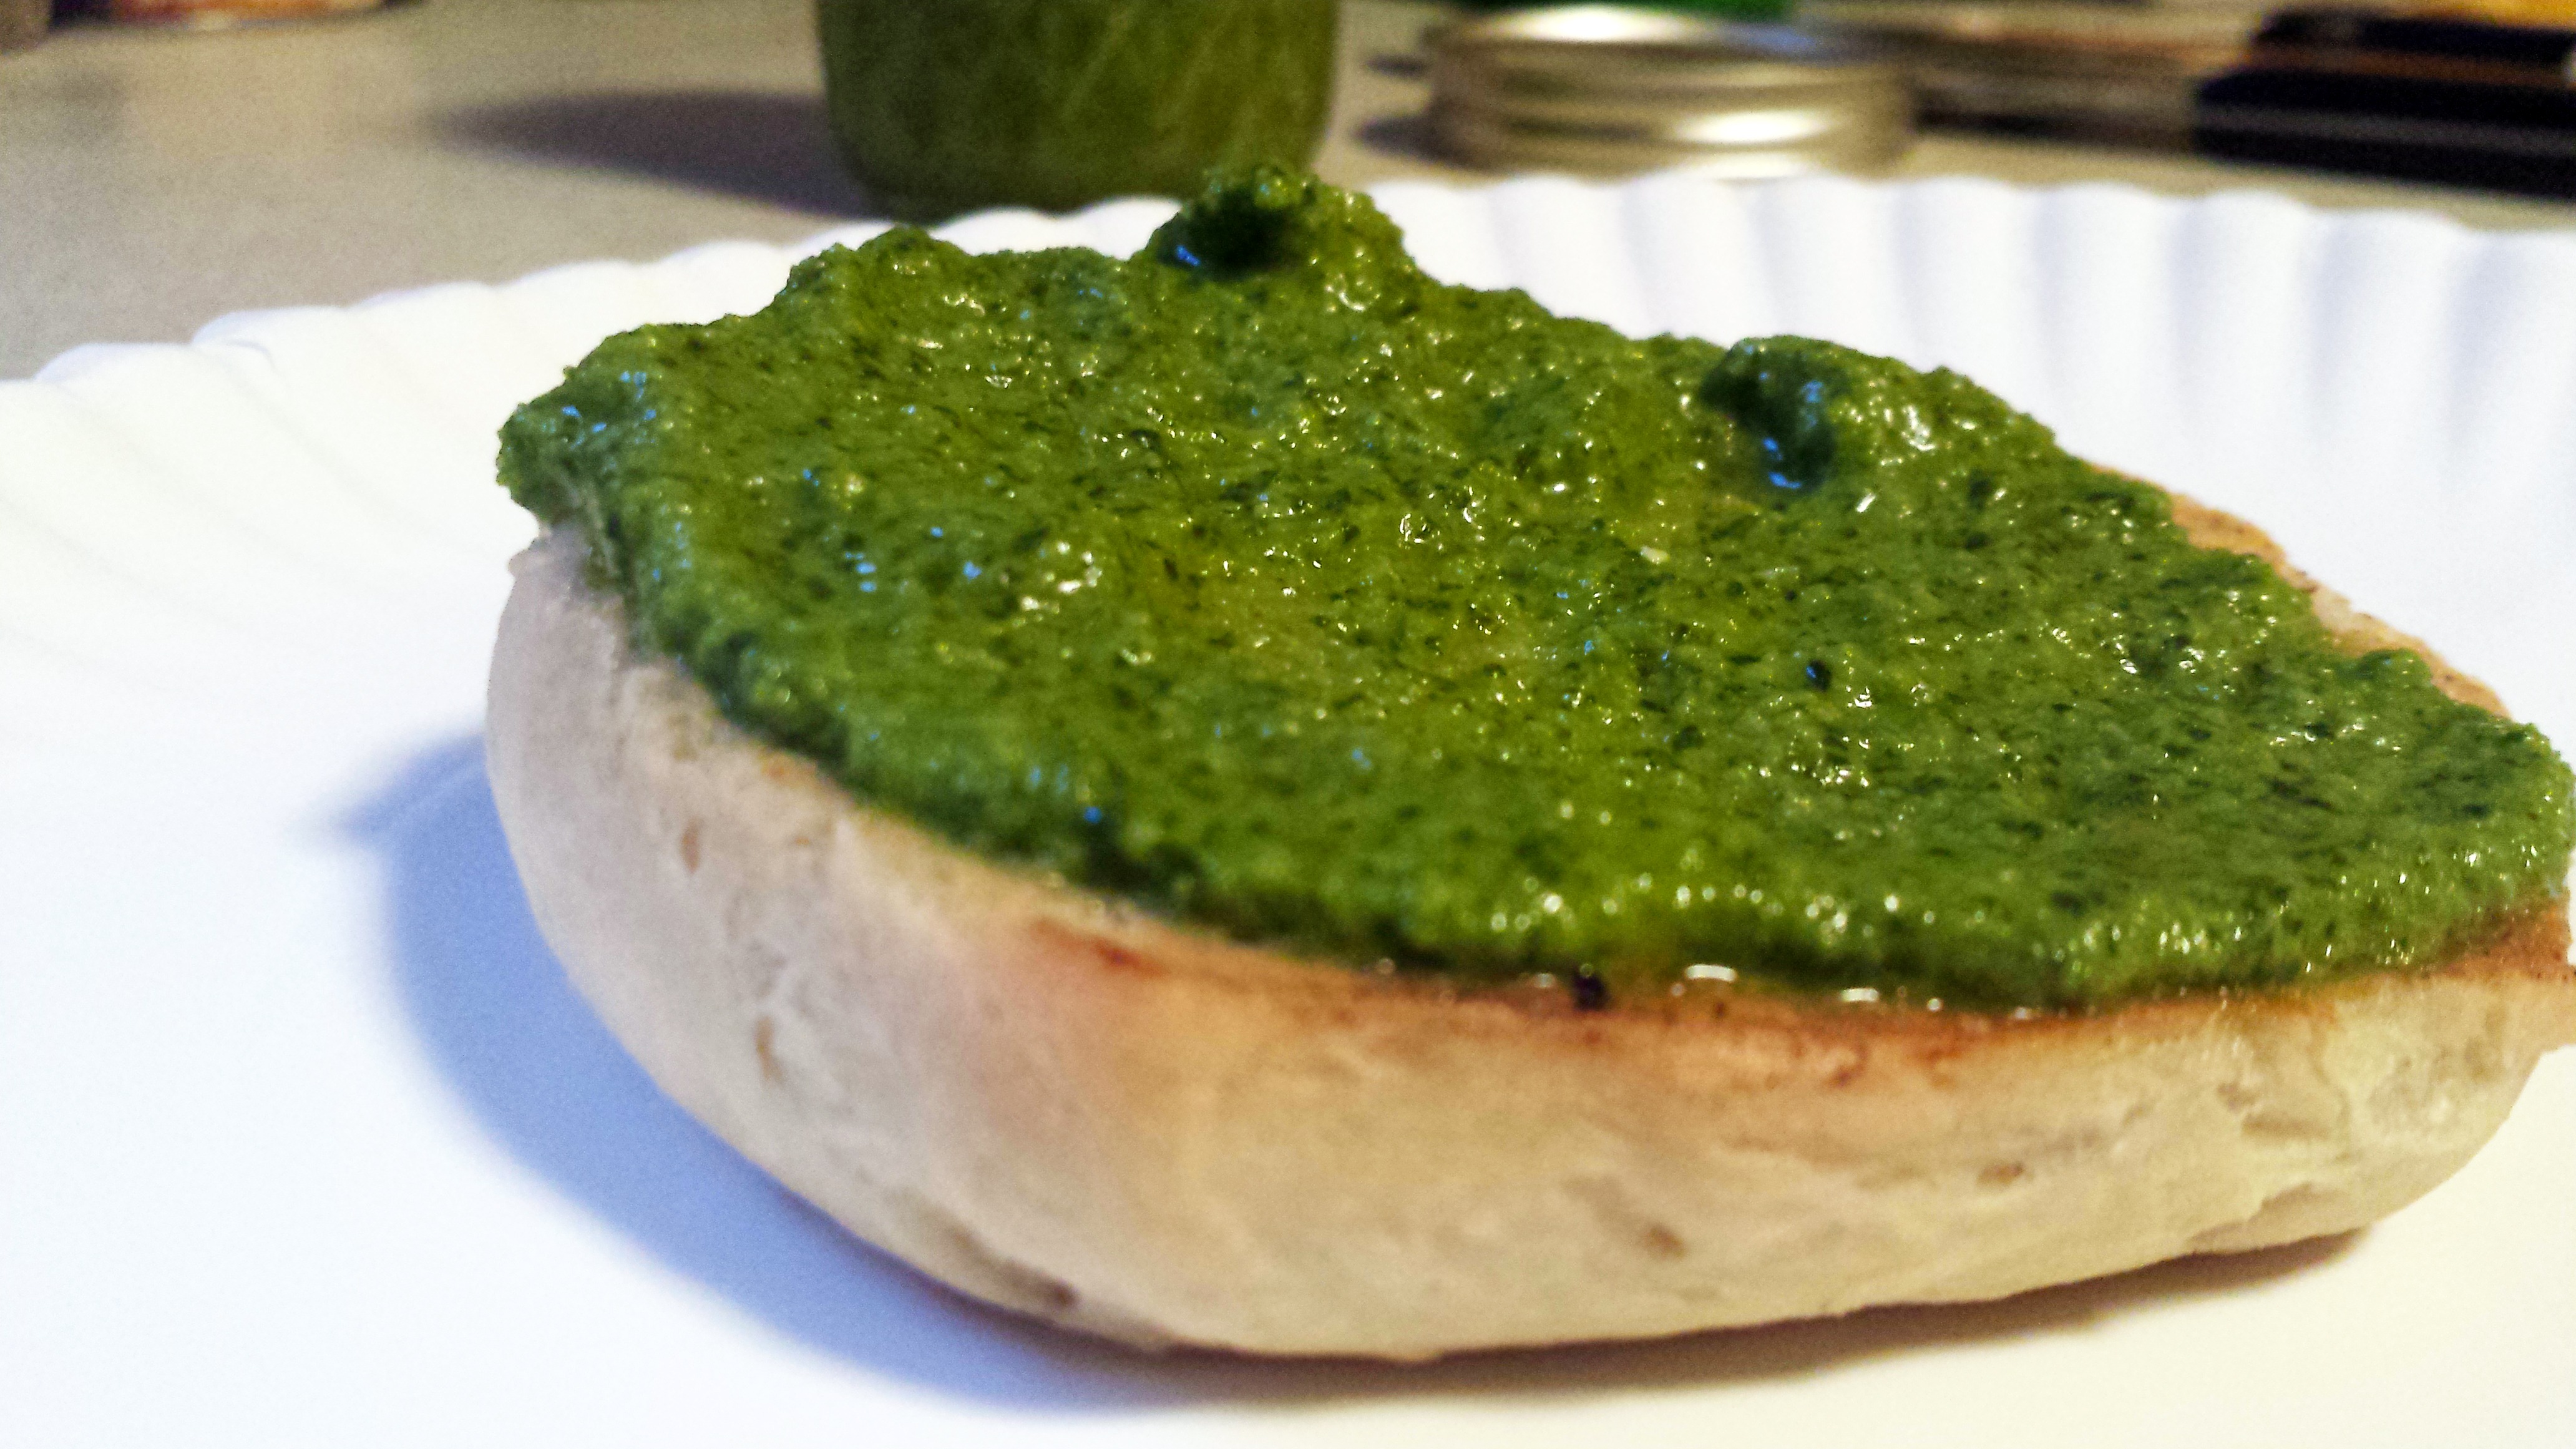
Notes
As aggressive as the flavor of cilantro can be, it’s batting against a bunch of other heavy hitters here–the garlic and onion, yes, but even the olive oil takes its place in this sauce, along with a nice sour hit from the lemon and vinegar. It’s even more delicious than it looks, and I think it looks pretty great.
Making the bread
Pan Amasado literally means “kneaded bread.” Despite a previous failure making sandwich breads for this site, I was going to try to recreate this one. And unlike some other aspects of Chilean food culture, I was able to find a good amount of English-language resources to help me do so. The most useful was this post on a site called Pepe’s Chile. The recipe I used is similar to the second one linked on that page, but I added a little sugar to help the yeast along, and I used lard instead of shortening. I put the lard, flour, salt, and sugar into the mixer bowl and let the dough hook combine those for a few minutes, then I added nearly a cup of warm water that I’d bloomed the yeast in and gave it another 8 minutes with the dough hook.
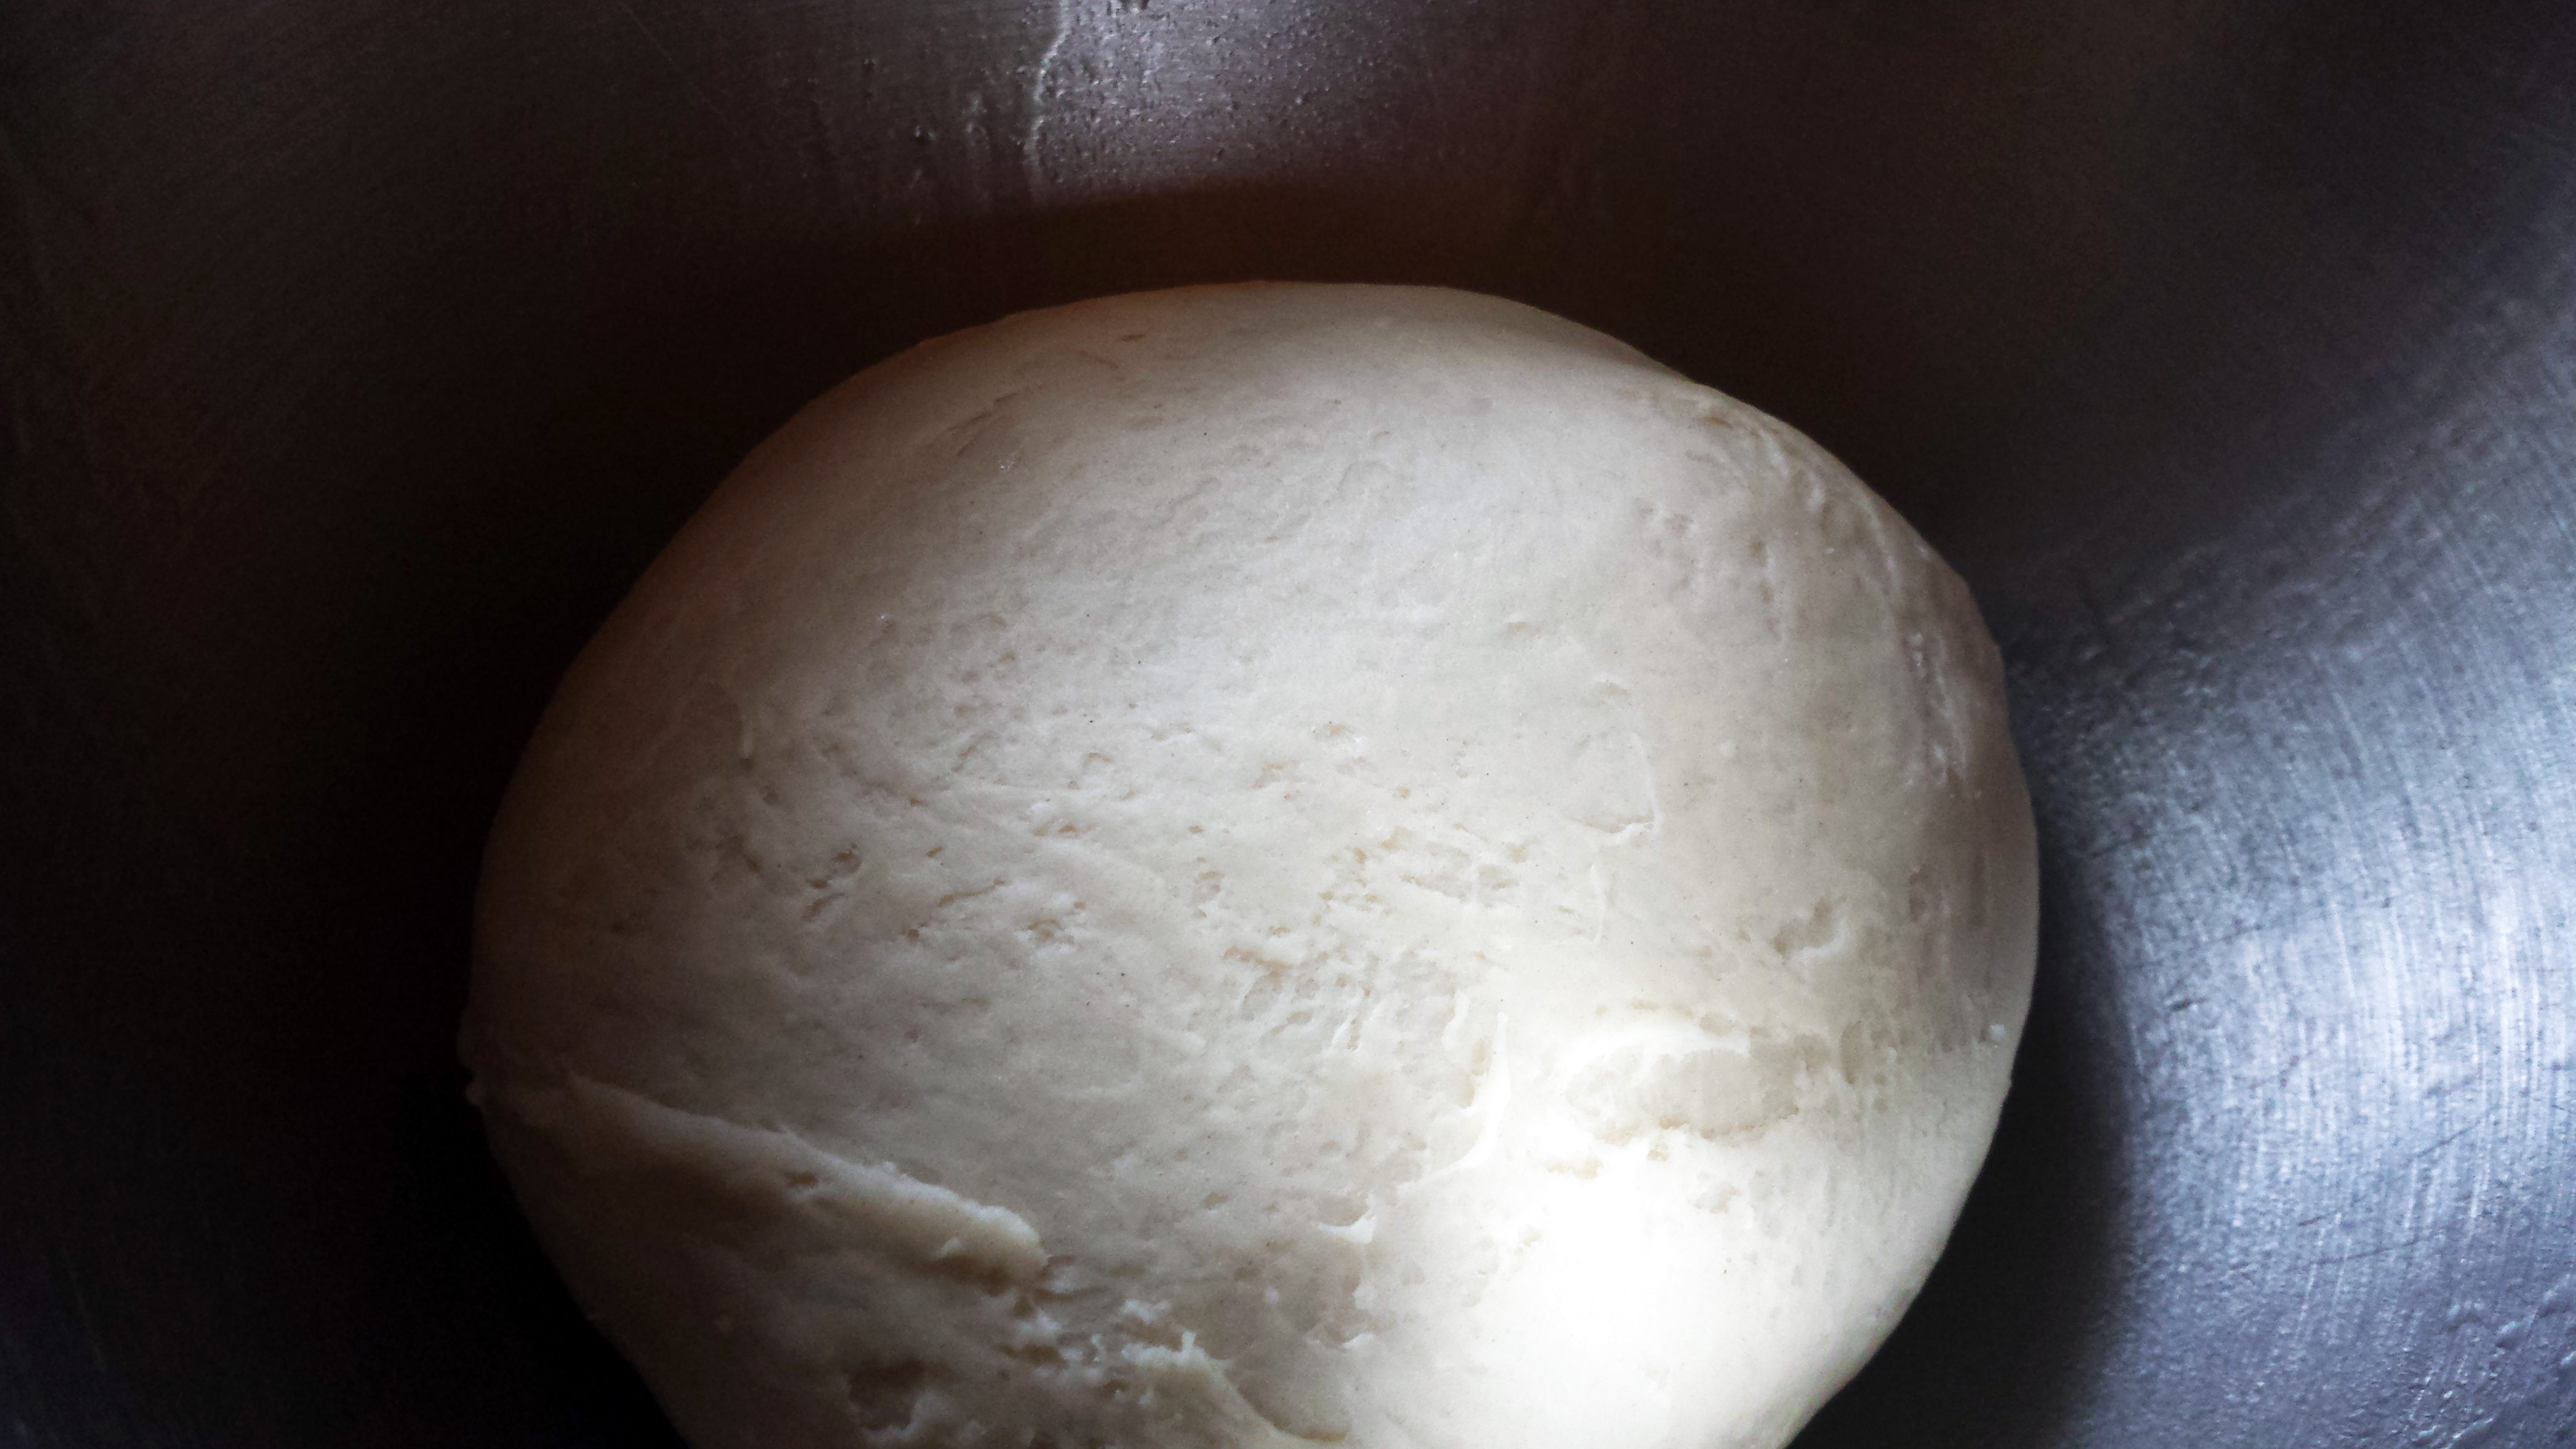
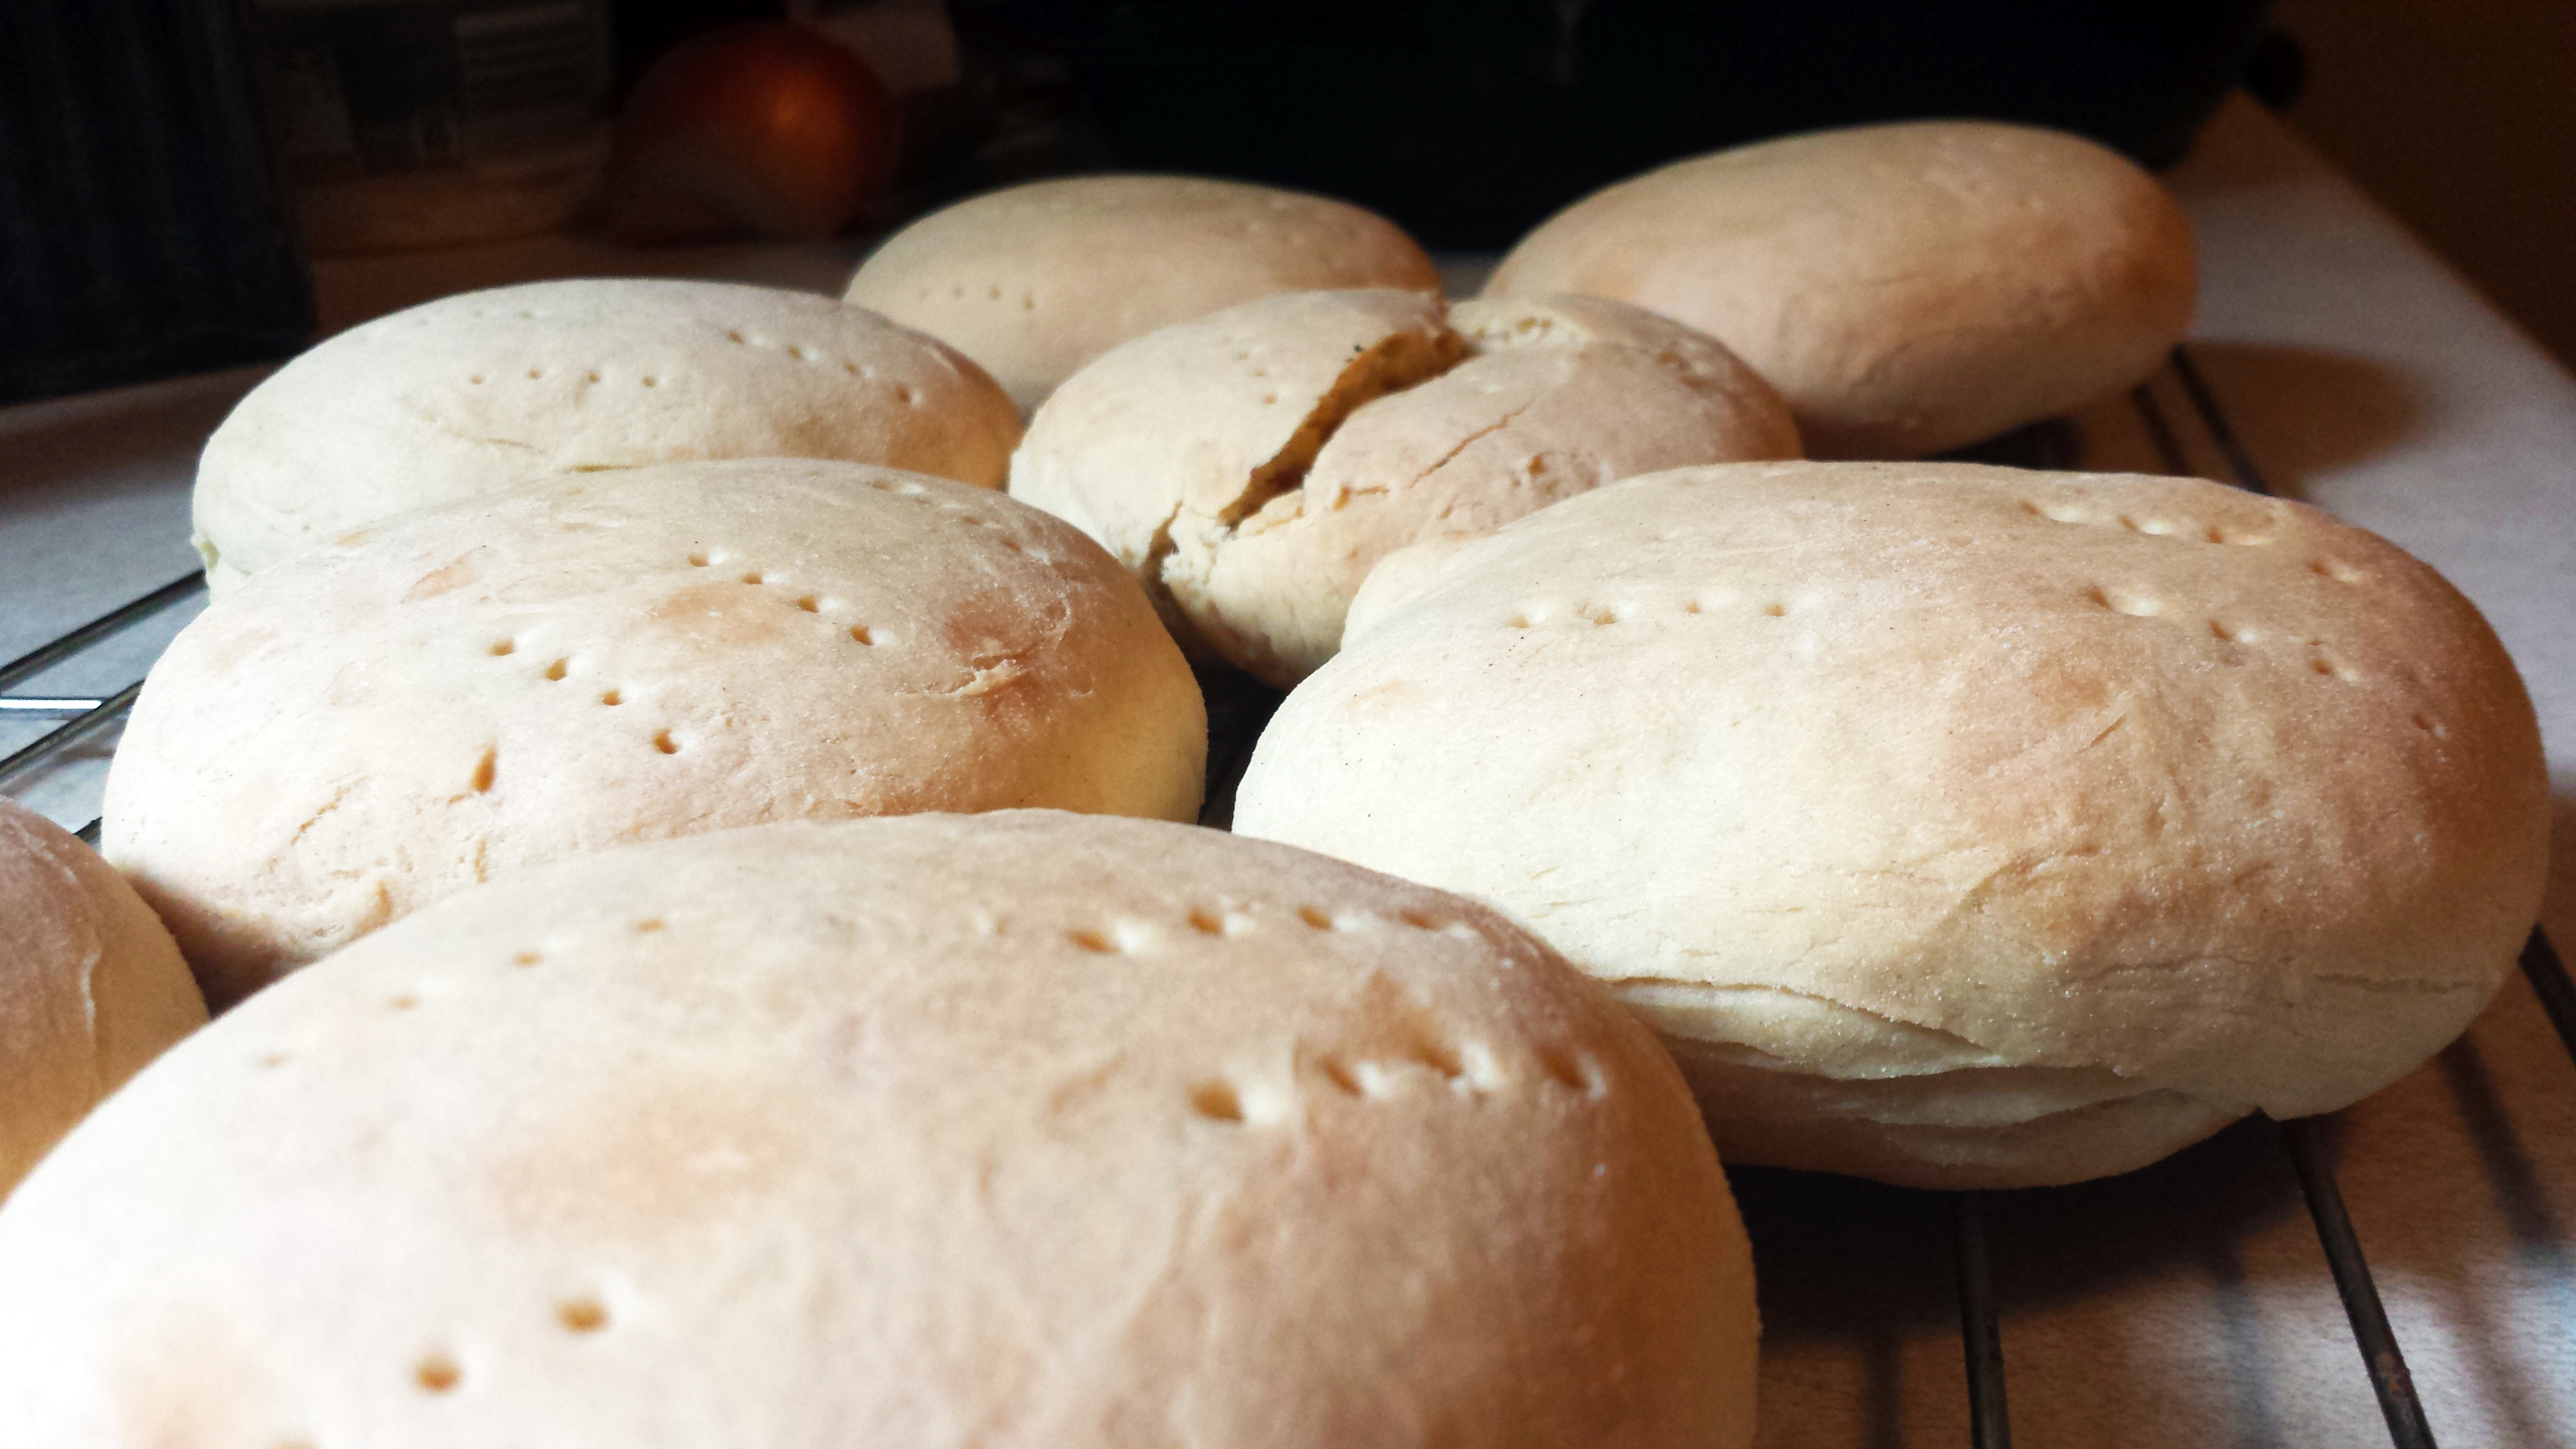
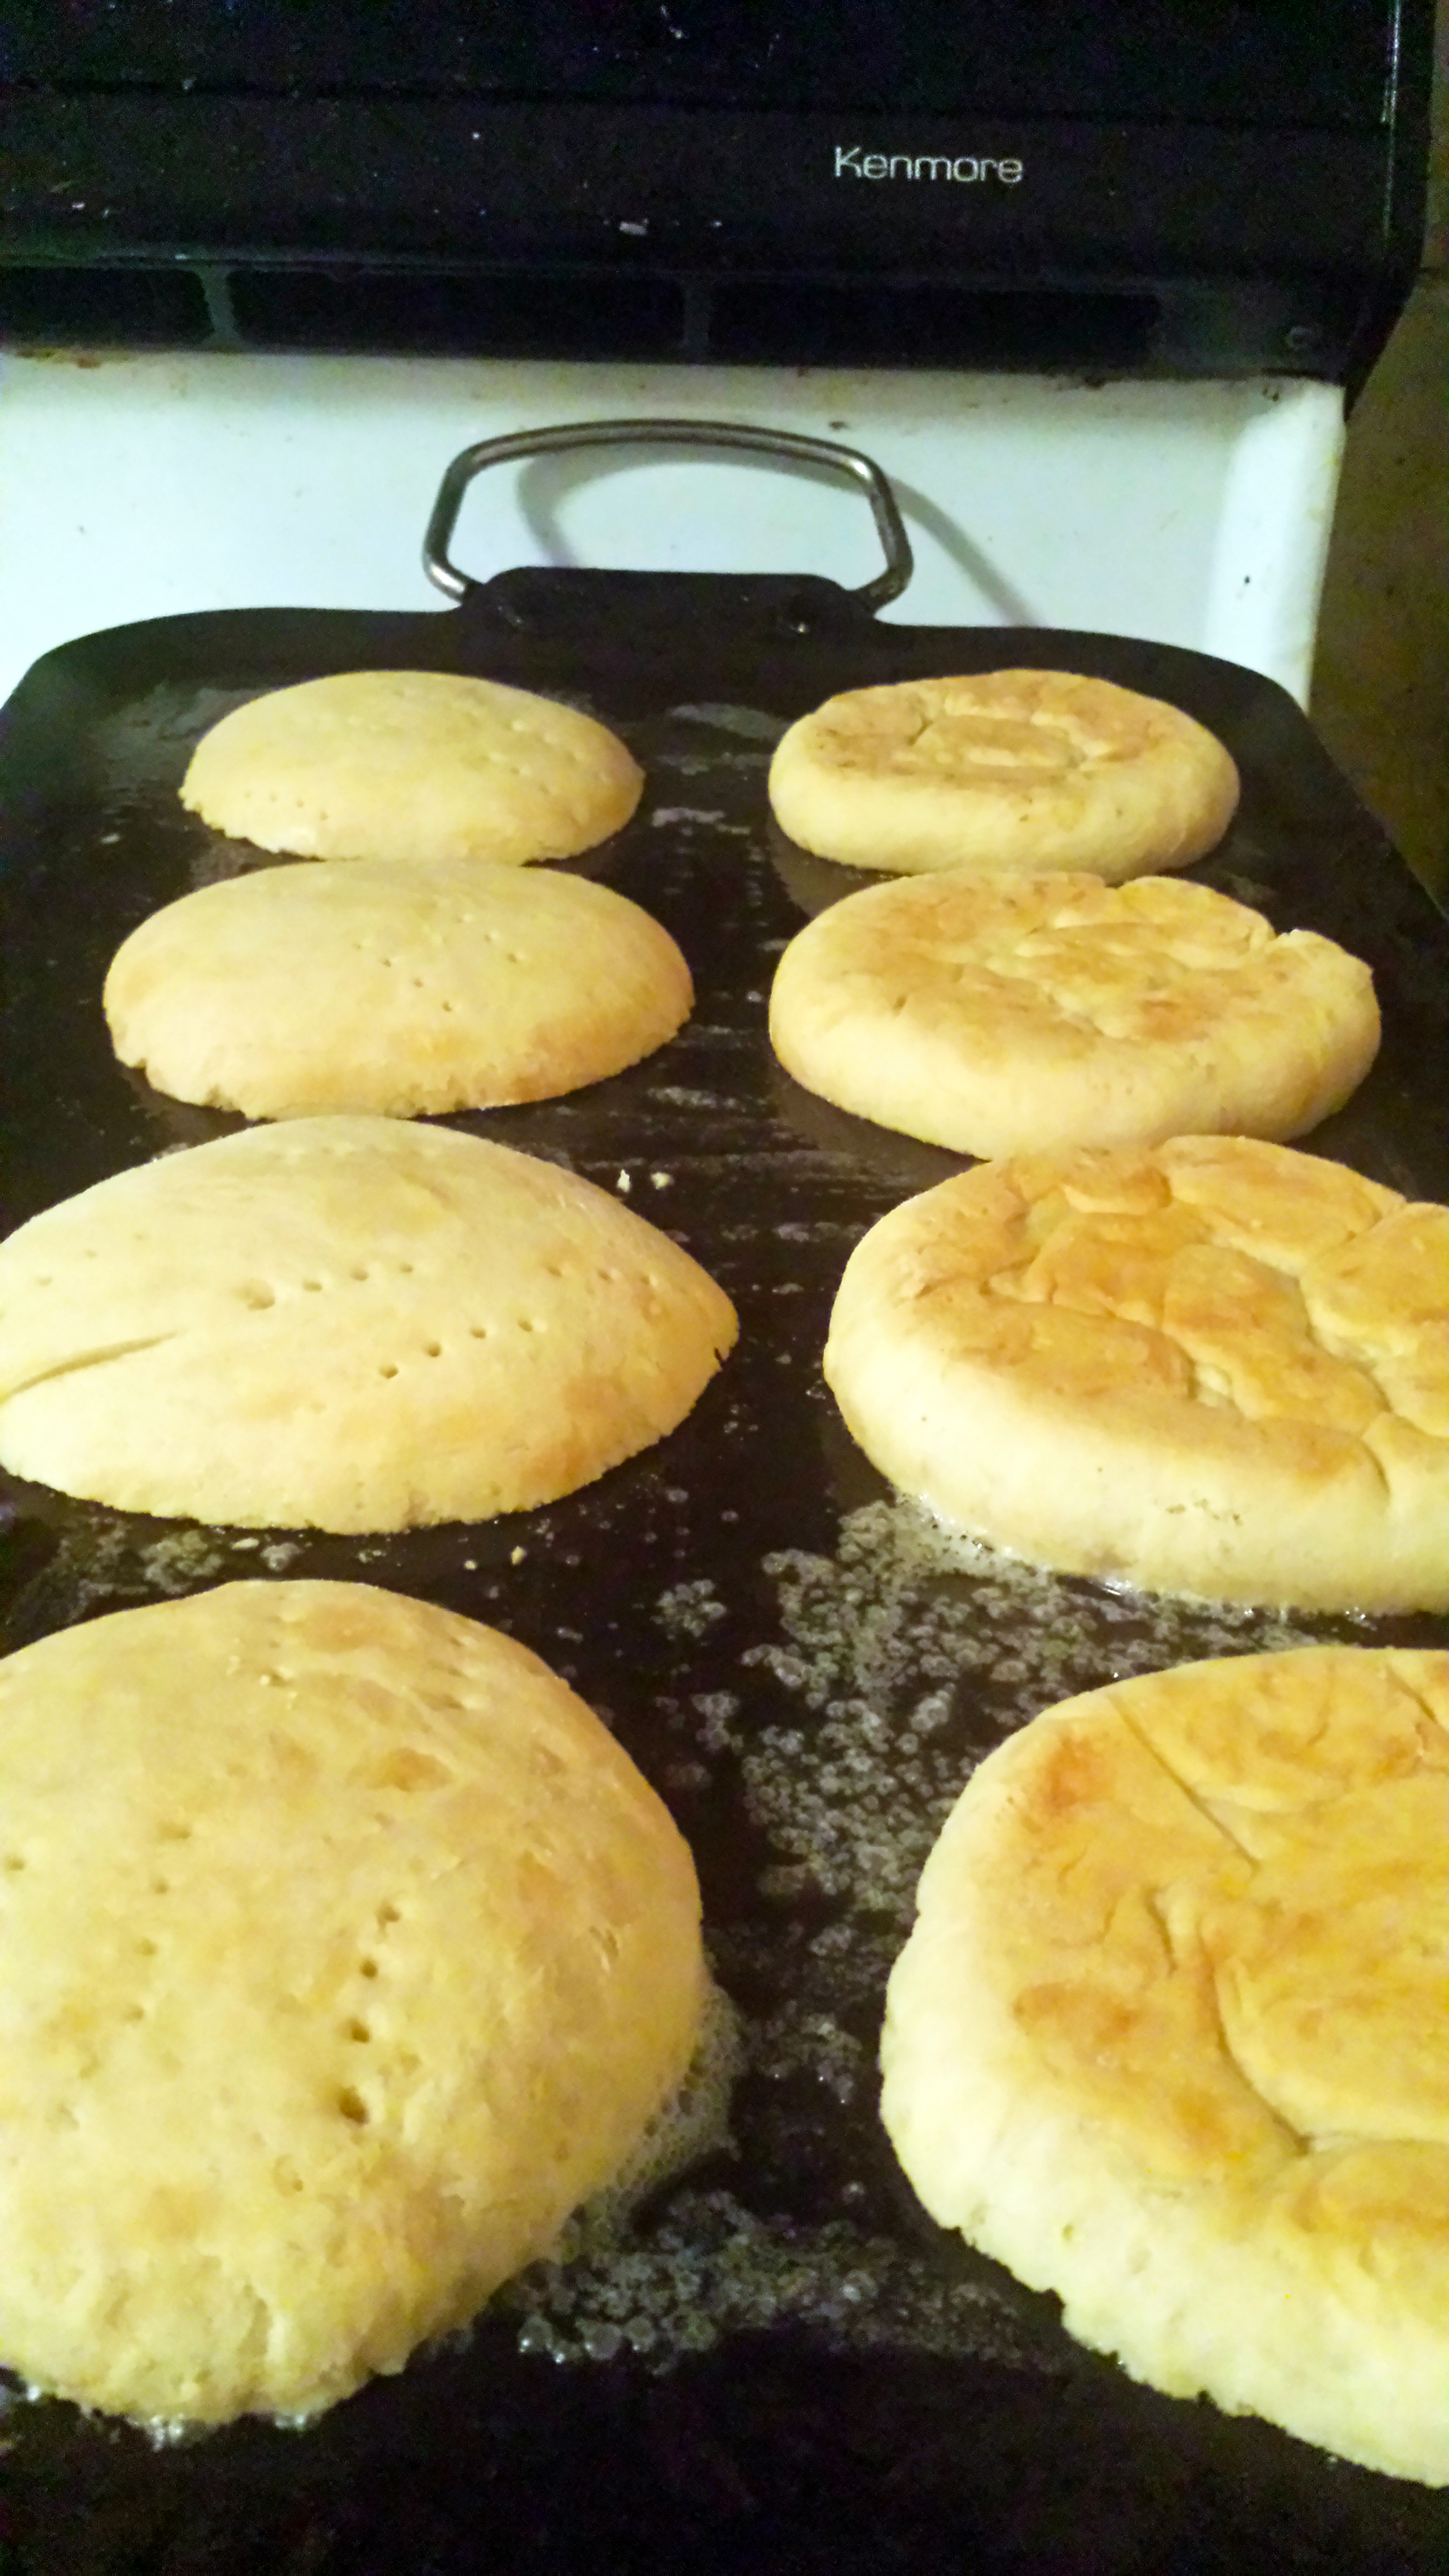
After covering the bowl with a damp towel and letting it rise for several hours, I punched the dough down, cut it into 8 equal parts, and shaped each into a flattened round. I poked each one several times with a fork and covered them with plastic wrap while they proofed.
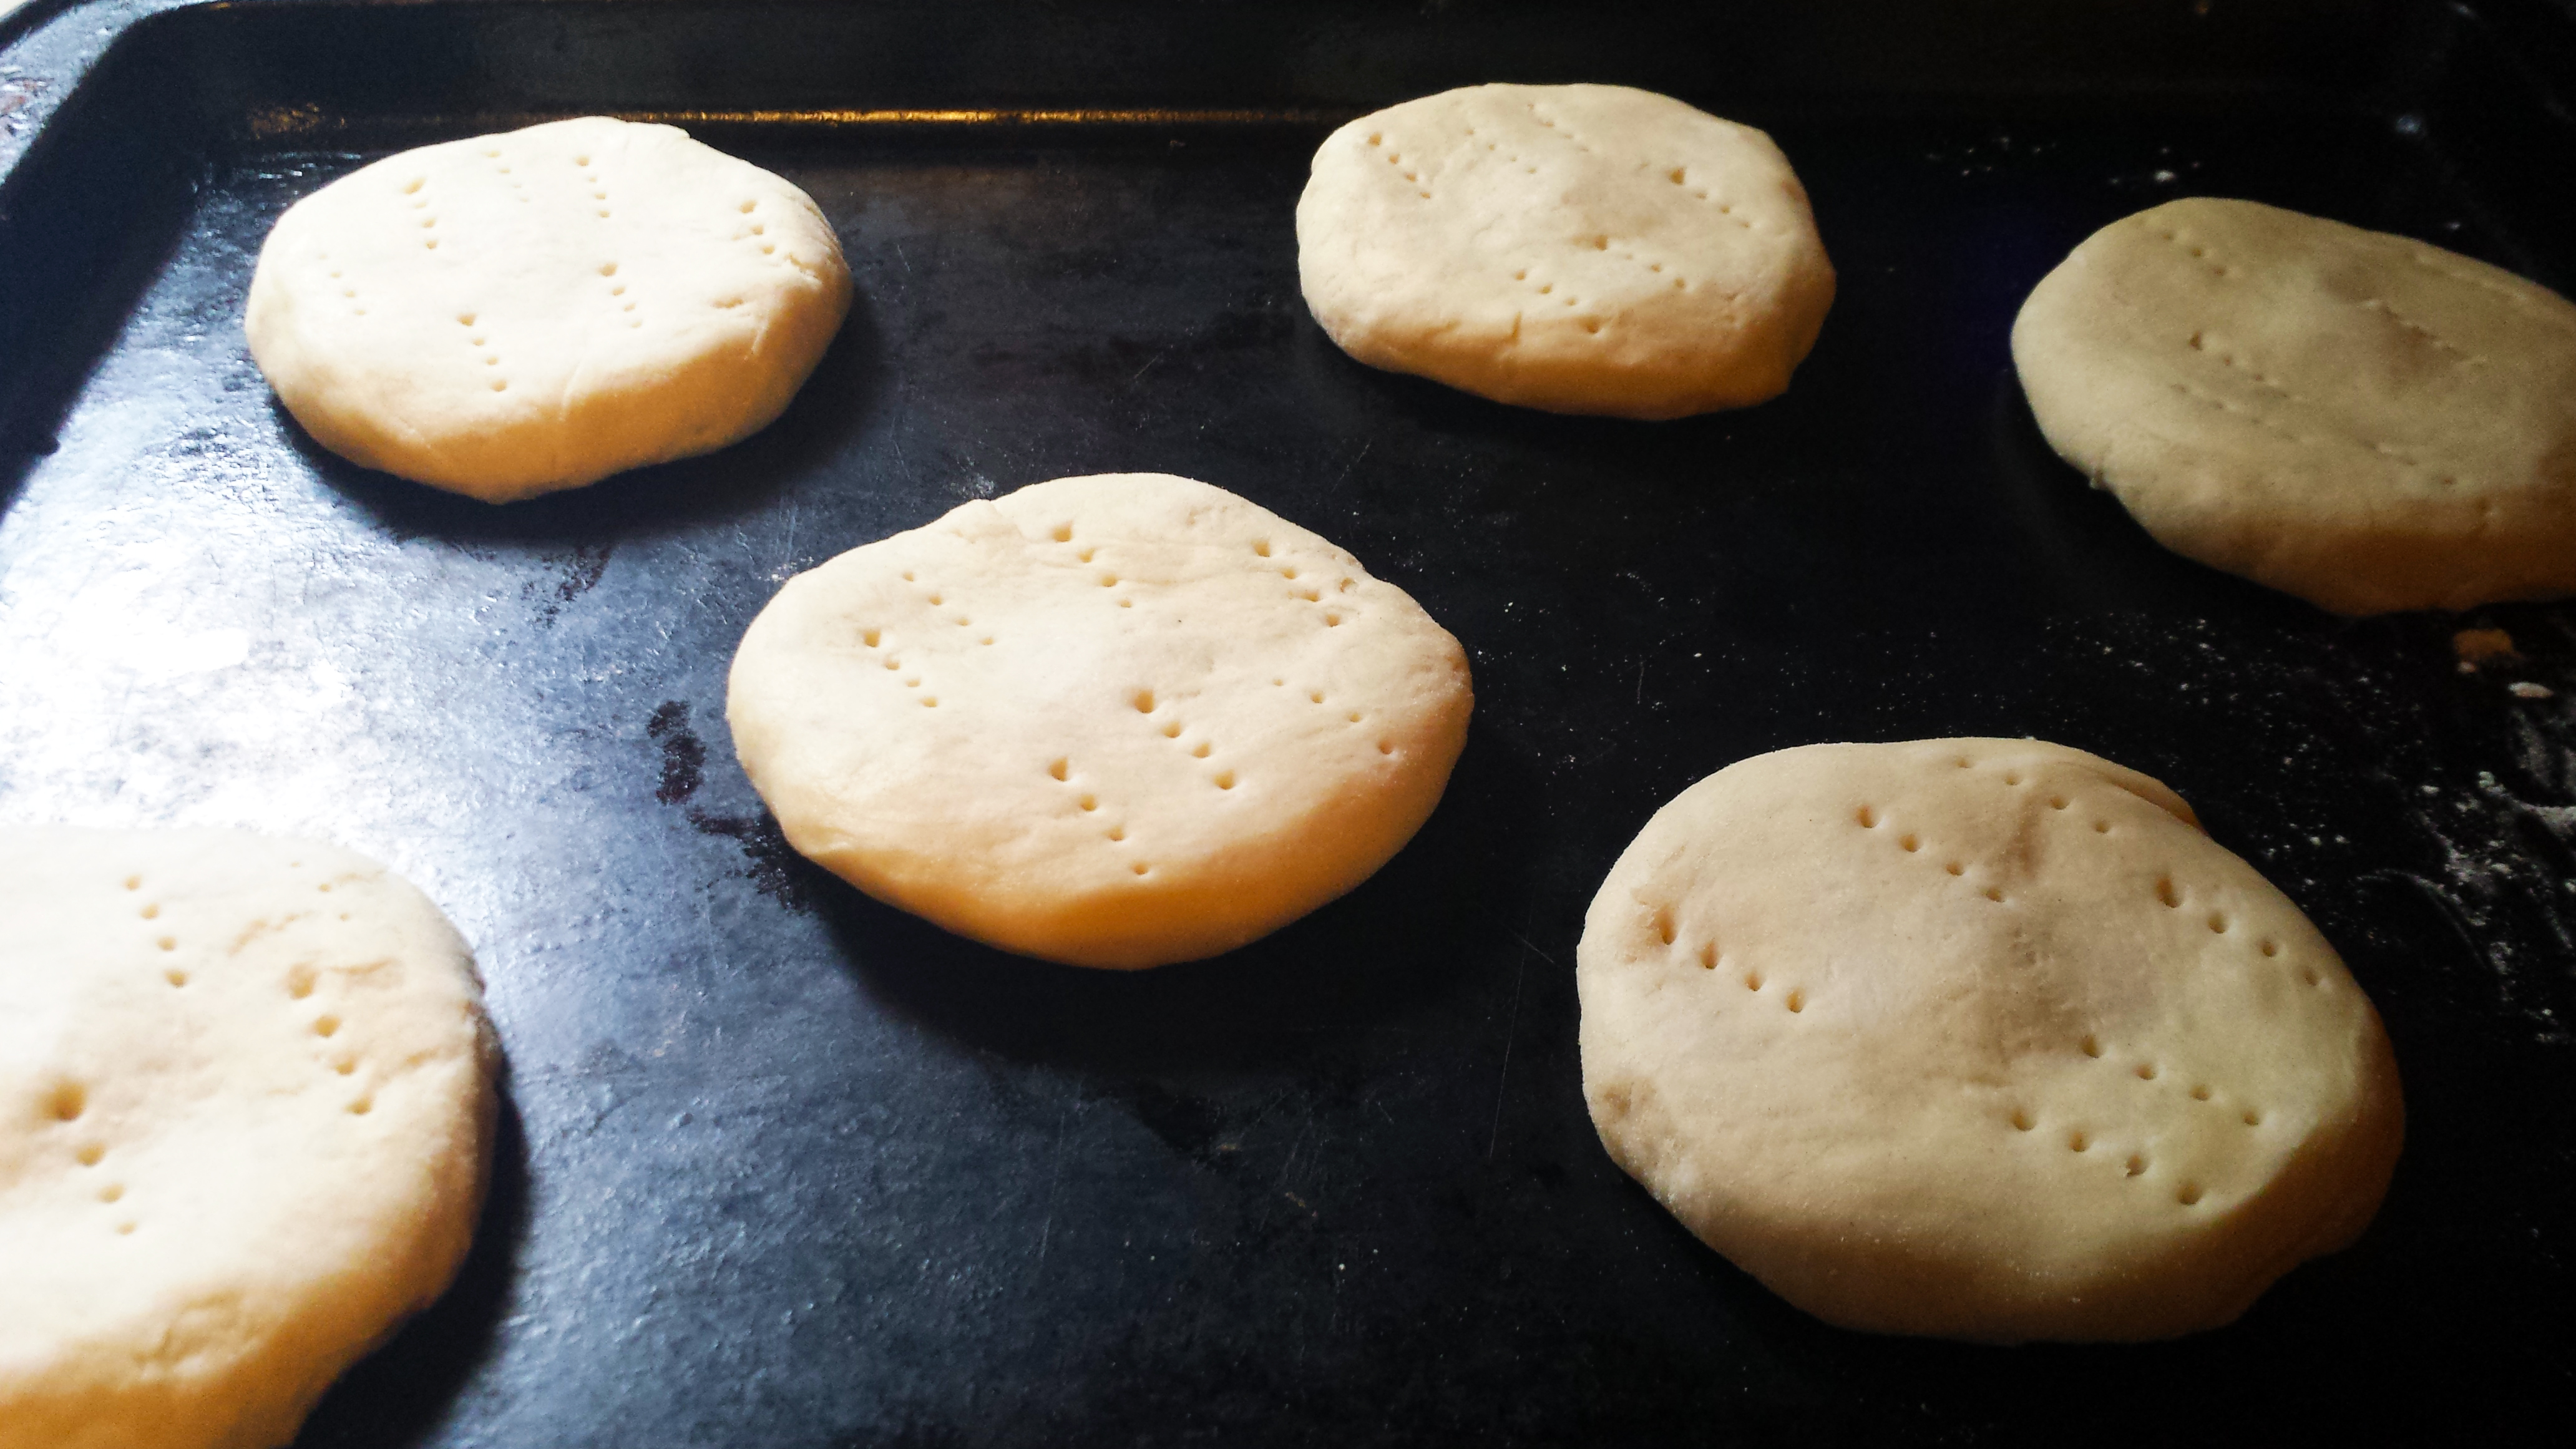
The Pan Amasado rolls baked in a steamed 350° oven for a half hour, after which I removed them to a rack to cool. I accidentally broke one of them while moving them so after their photo session I was forced to evaluate Francisco’s contention that “a good amasado, just baked, goes perfect with some butter …it’s almost heaven!”

I don’t know what my expectations of heaven are, but pretty much any bread, straight-from-the-oven hot and slathered with melted butter is going to be nearly perfect, even if you’re as terrible a baker as I am. These rolls are dense, but flat enough that the density of the crumb doesn’t impact their sandwich-worthiness. The lard gives them a flaky crust, while the kneading allows a bit of airiness to develop in the crumb despite the lard. They really were quite good, and best when at their freshest.
Cooking a steak
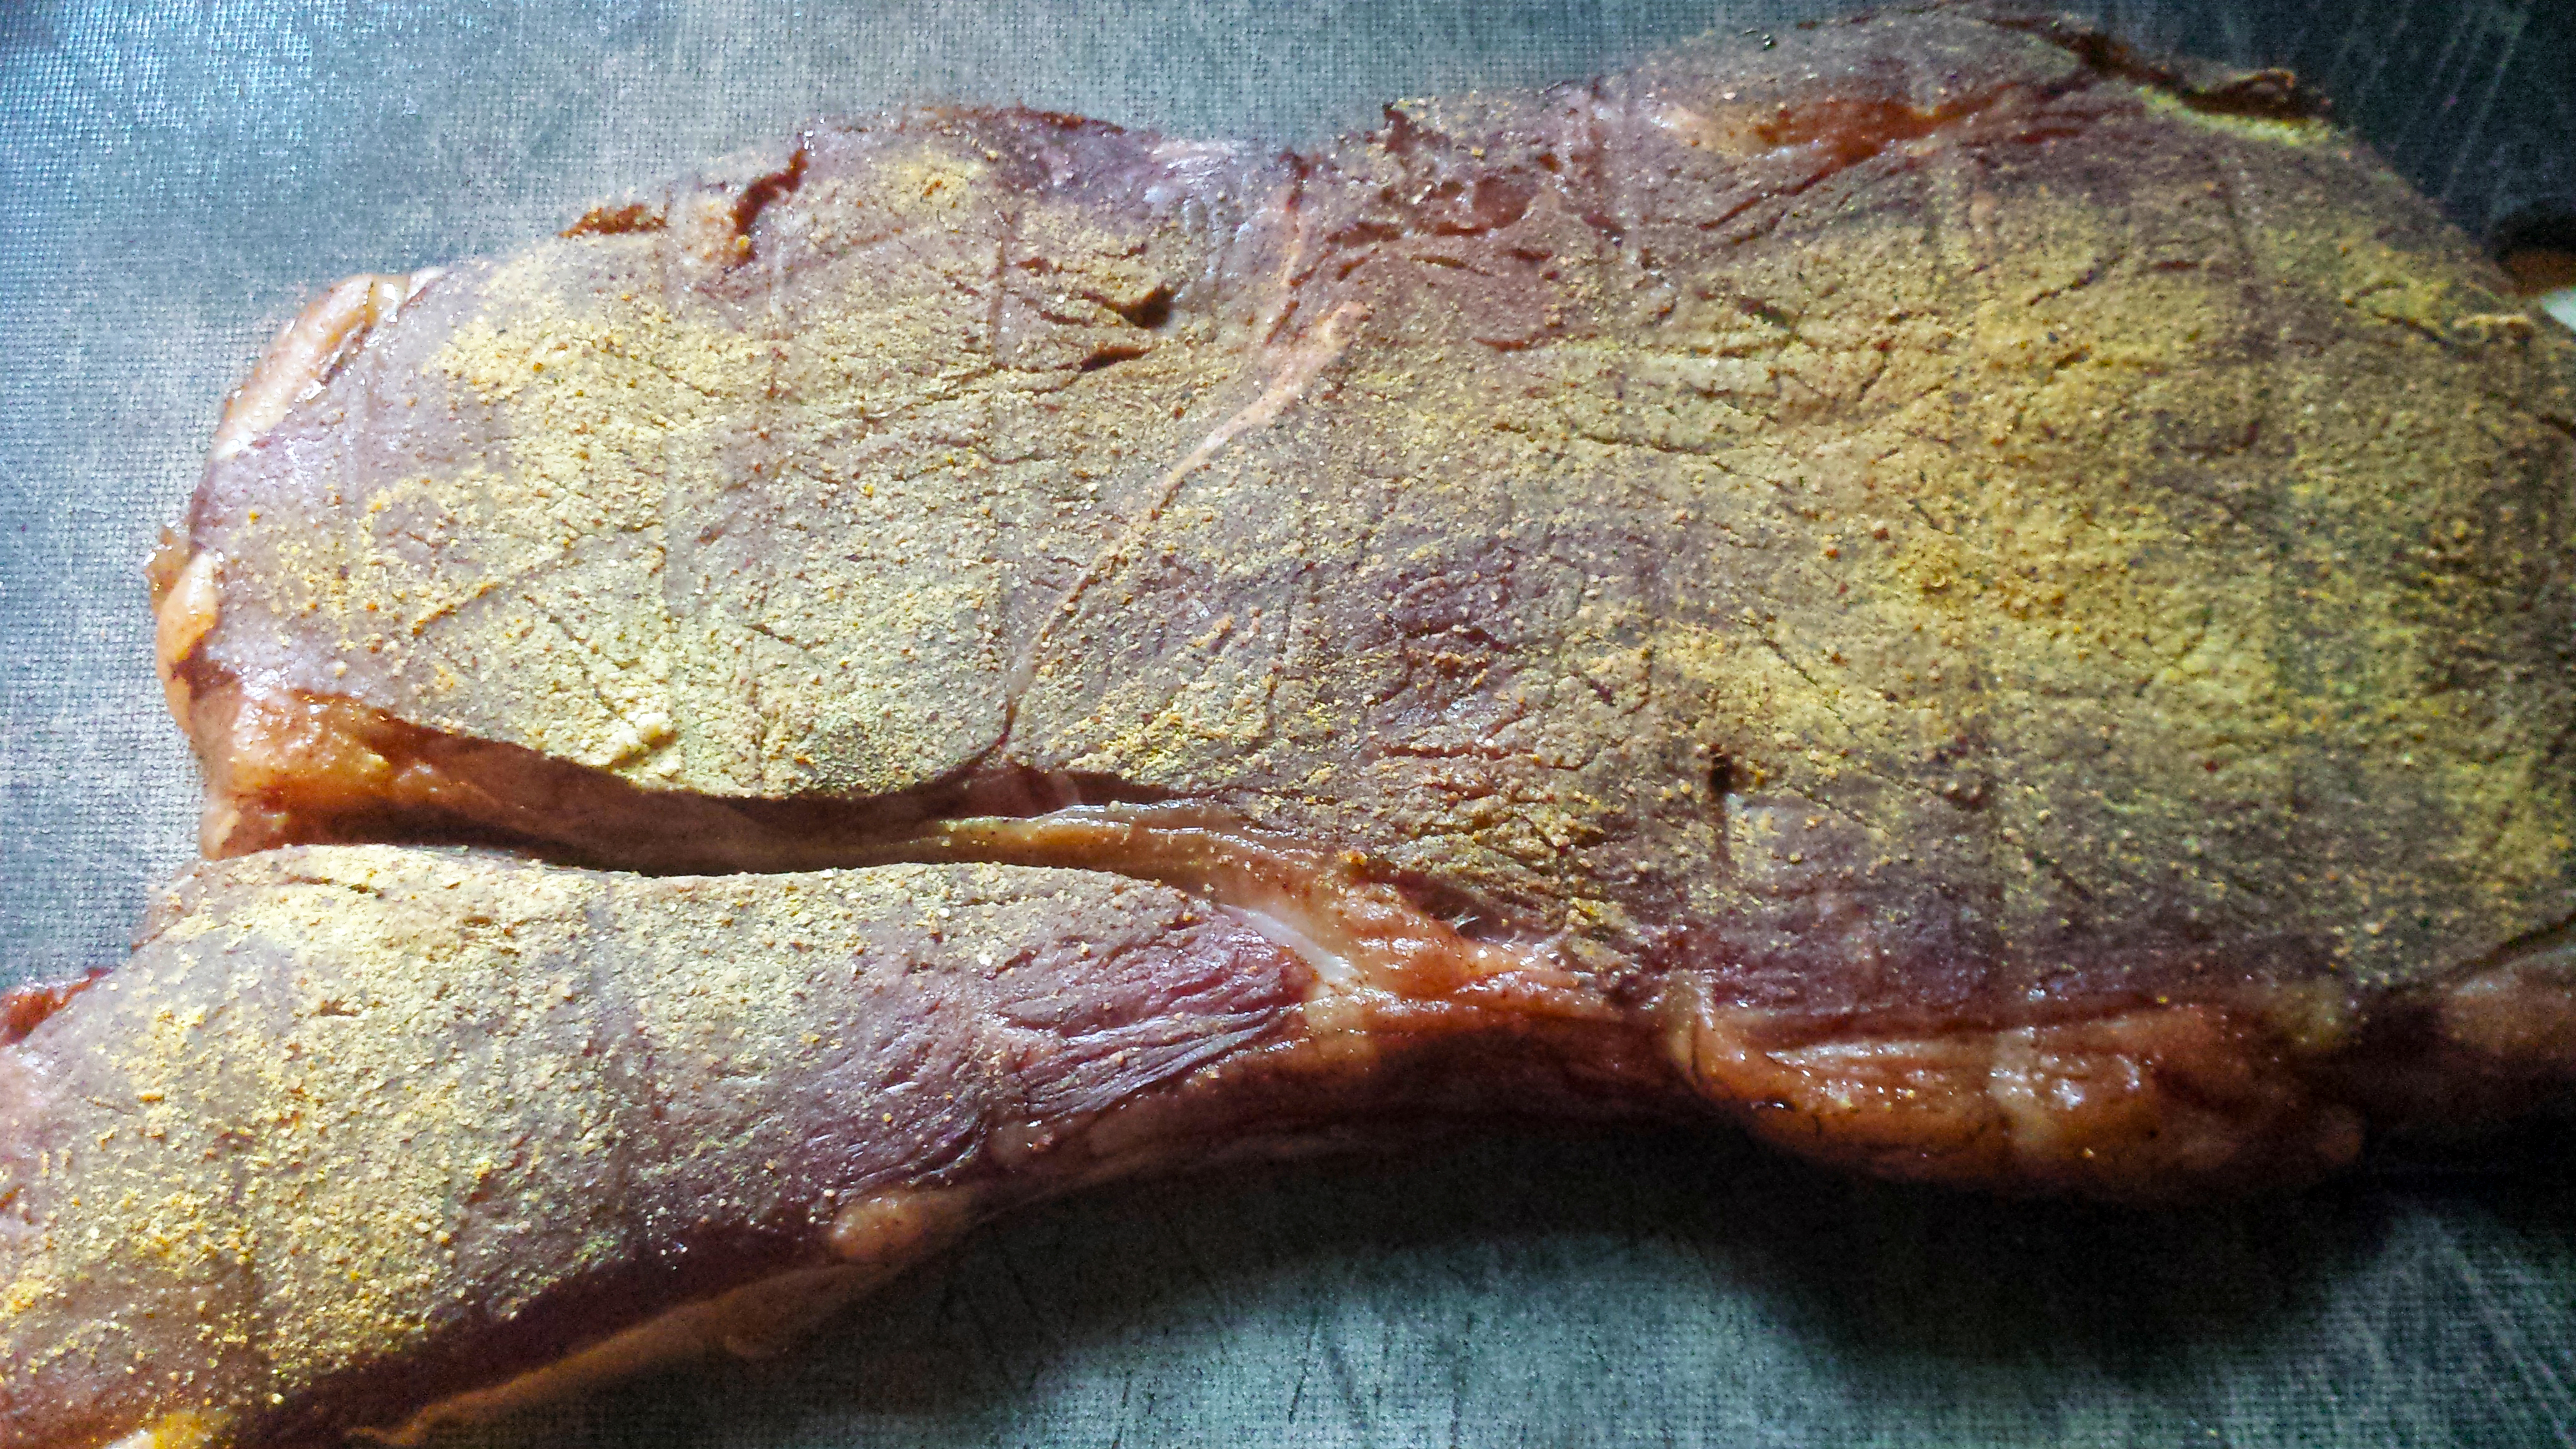
If sirloin was the best option for these sandwiches, sirloin was what I was going to use. I was able to pick up a nice big 24 ounce or so sirloin steak at a local market, and I determined that I’d use a technique that has worked very well for me in the past, the America’s Test Kitchen method of slowly preheating the steak in a warm oven and then quickly pan-searing it.
I seasoned the steak with a roughly 60/40 combination of Goya’s Adobo seasoning and ground white pepper then put it on the rack in a 175° F oven with a probe thermometer monitoring its internal temperature.
I heated my 12″ cast iron skillet, with just a tiny little smear of vegetable oil in it. until it was smoking, then added the sirloin and cooked it for about 3 minutes on each side.
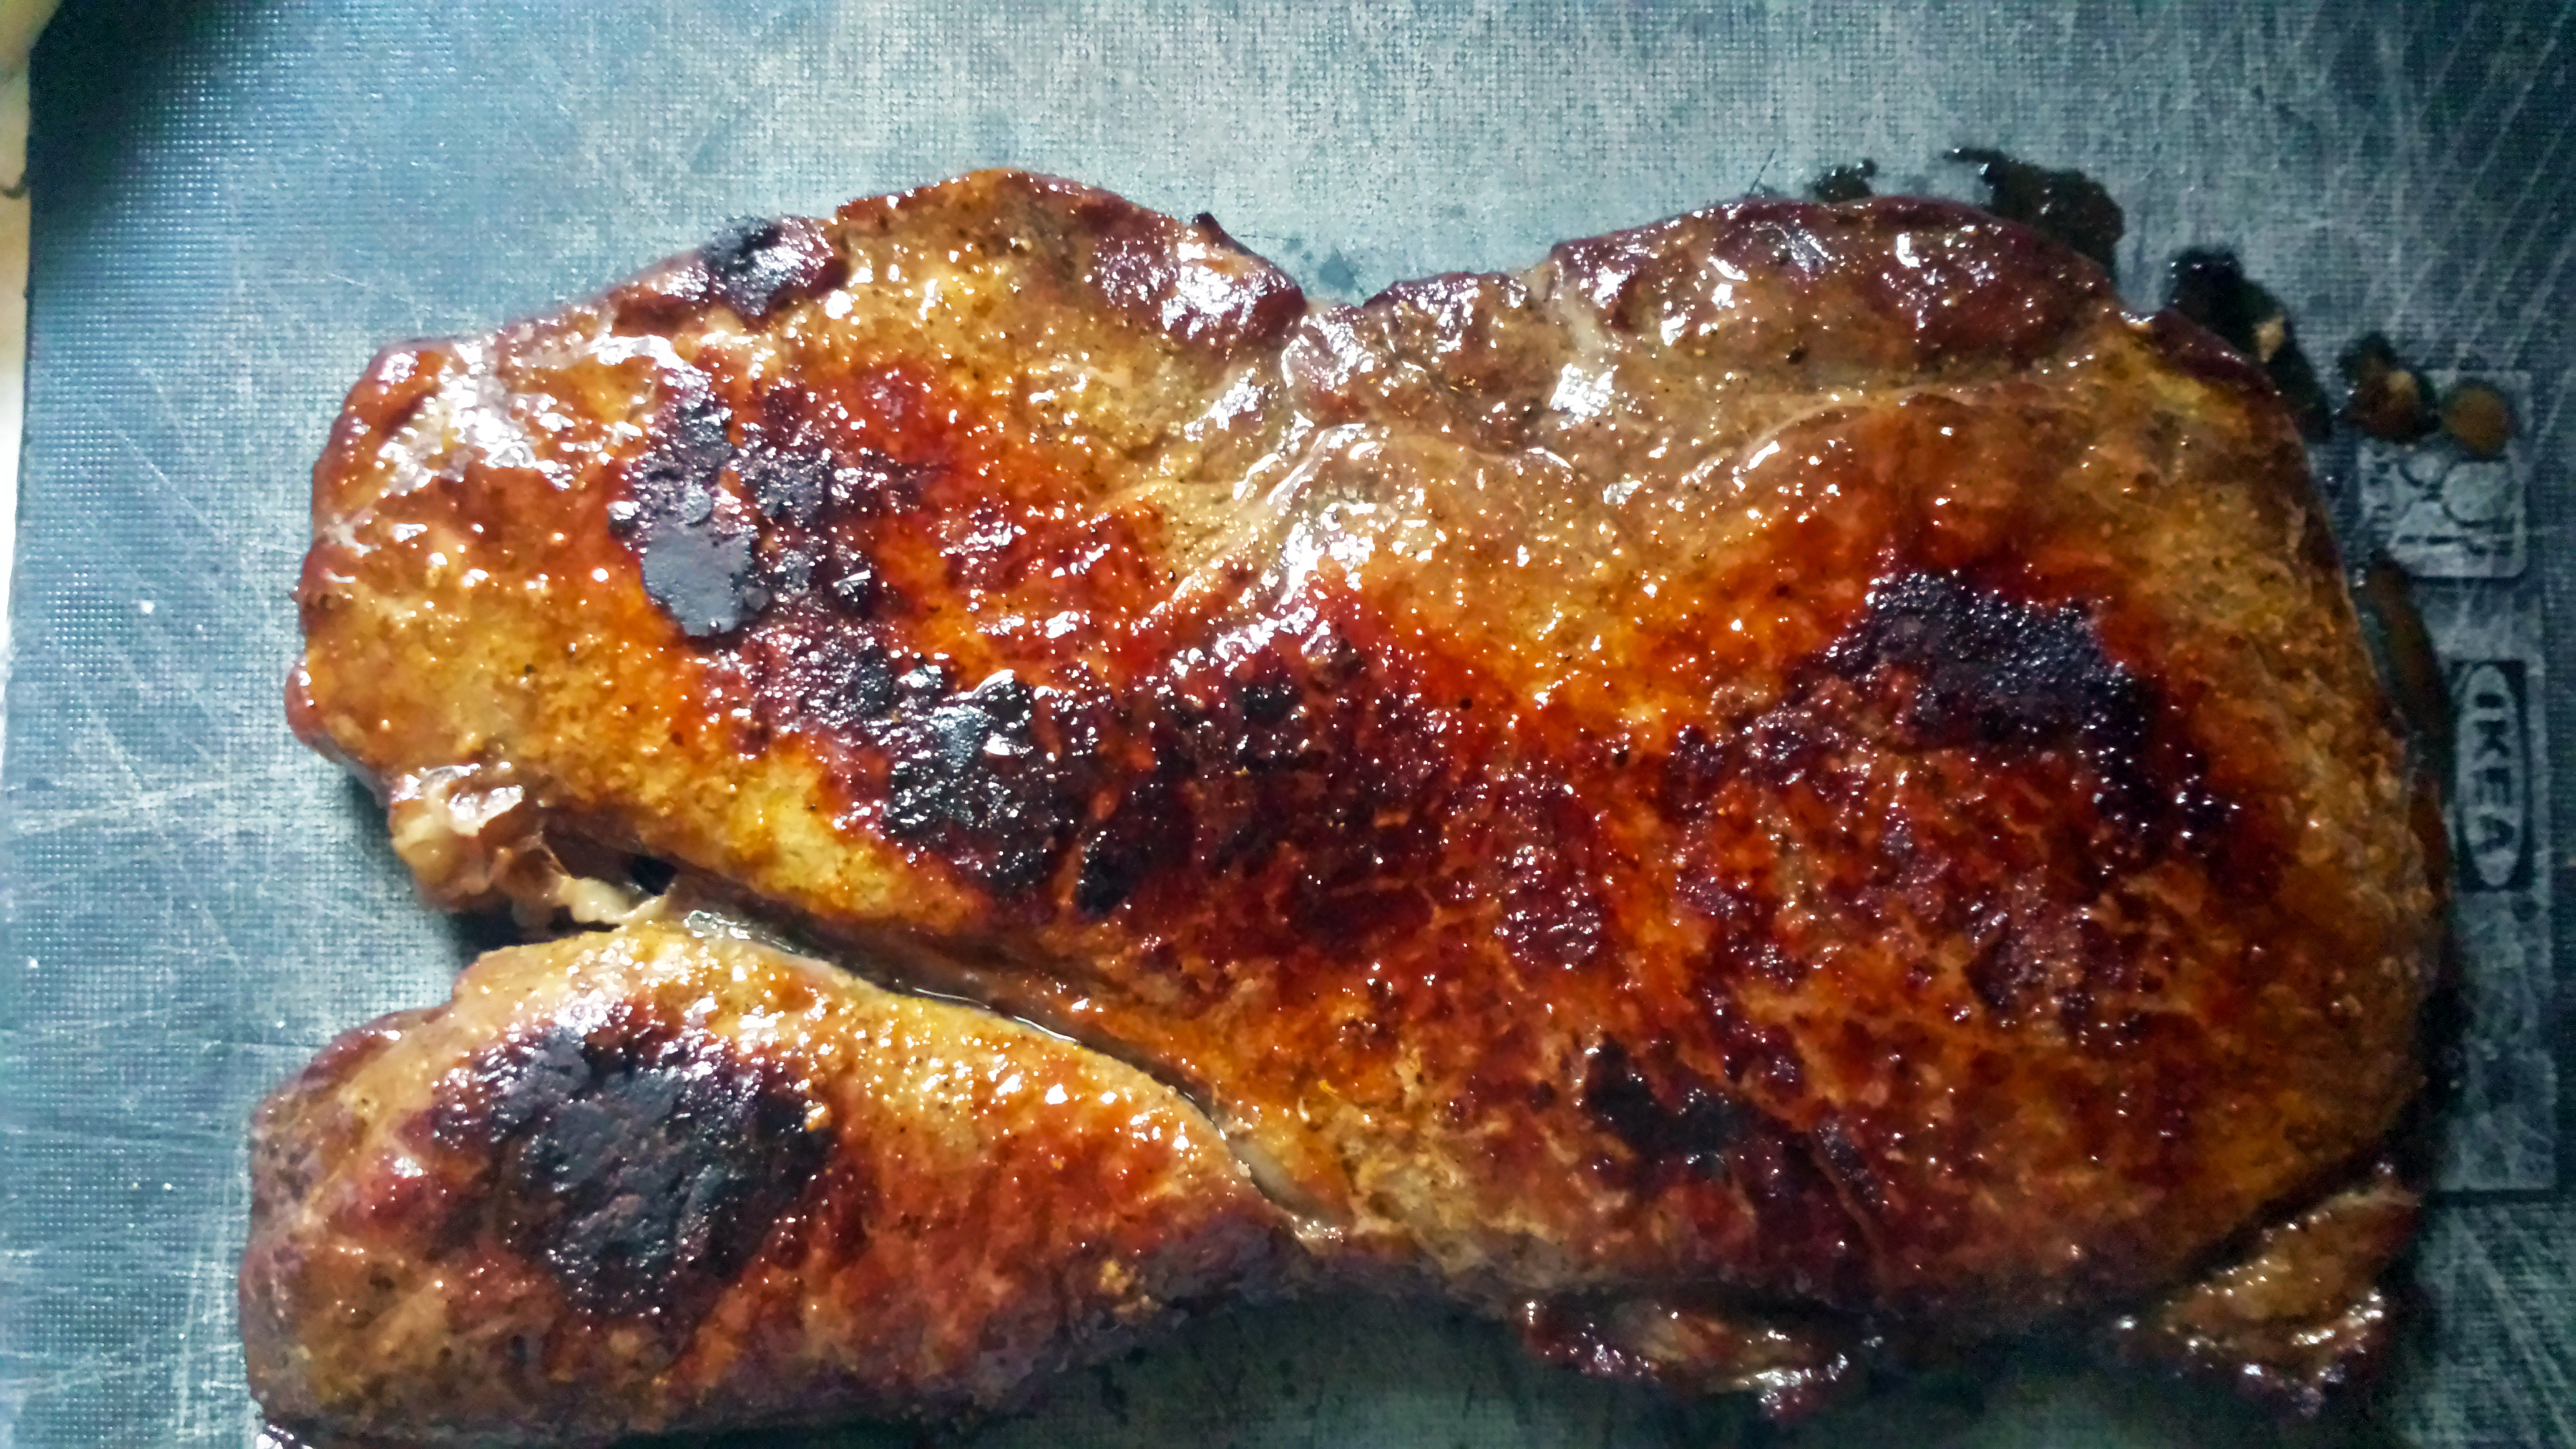
Here’s where I screwed up: I thought I should leave the steak in until the internal temperature was close to the level of doneness I wanted (e.g. close to 125° for rare), when due to the intense heat involved in pan-searing, it should be pulled about 30° or more shy of that. So I ended up with a steak that was closer to medium-well than rare. But this technique allows great flavor to develop, and it was juicier than it seems like a steak cooked that long should be. It was, thankfully, delicious despite my mistake.
I rested the steak for 10 minutes, then used an electric knife to slice it thinly.
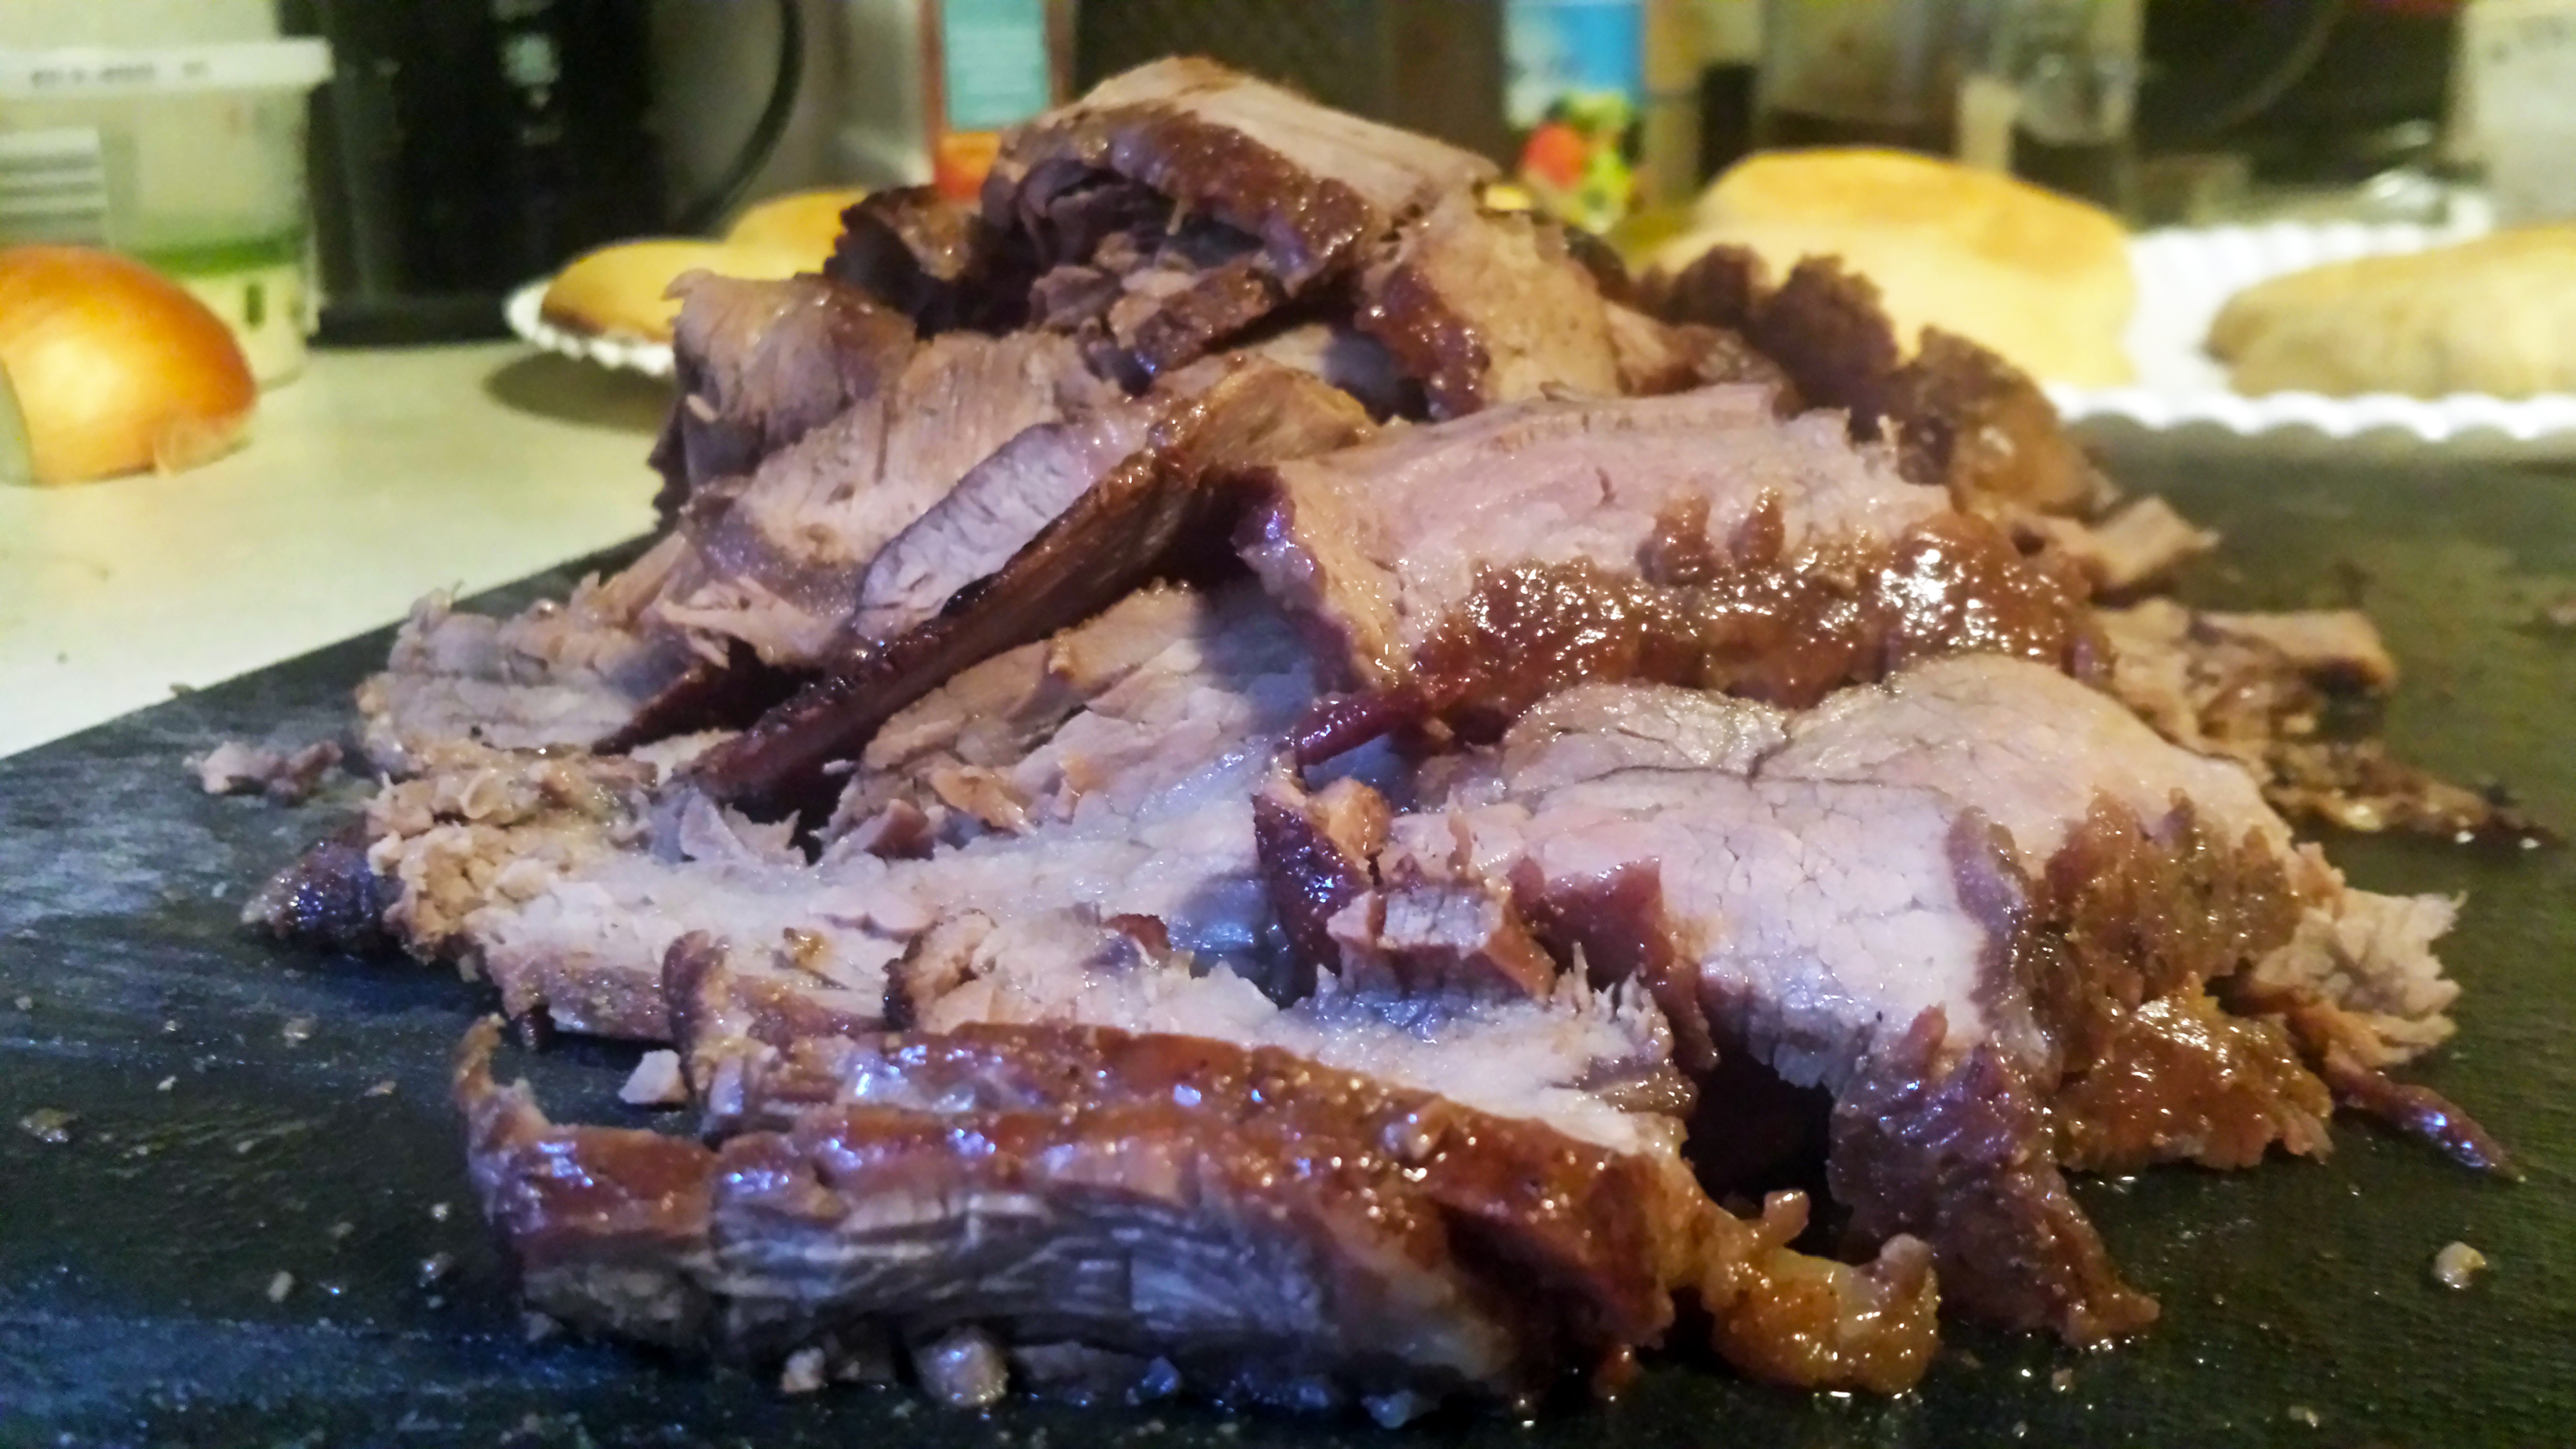
I was ready to make some sandwiches.
Putting it all together
Again, a la plancha would be the method for delivering a hot, melty, delicious sandwich, but I needed to work quickly so that I didn’t overcook the meat even further. This means no sizzly pics of steak and cheese on the griddle, sorry! I had a pile of shredded gouda, and another pile of shredded havarti, and I wanted to make sandwiches with both of them. I also wanted to try each with and without the pebre sauce. That meant 4 sandwiches, so I sliced 4 of the pan amasado rolls, buttered the griddle, and heated them cut-side down.
I separated the steak into 4 roughly-equal piles and added the cheese on top. Once the bread was browned, I removed it from the griddle and put it onto 2 separate plates, one for gouda and one for havarti. On each plate, I added pebre to one of the two bottom buns, leaving the other one.
I added the steak and cheese piles to the griddle then, dribbled a little water on the griddle to create steam, and covered it with a 9″x13″ pan to channel the steam toward the cheese and quickly start it melting. Then I transferred the steak and cheese to the bottom buns and covered them with the still-hot top buns to finish melting the cheese.
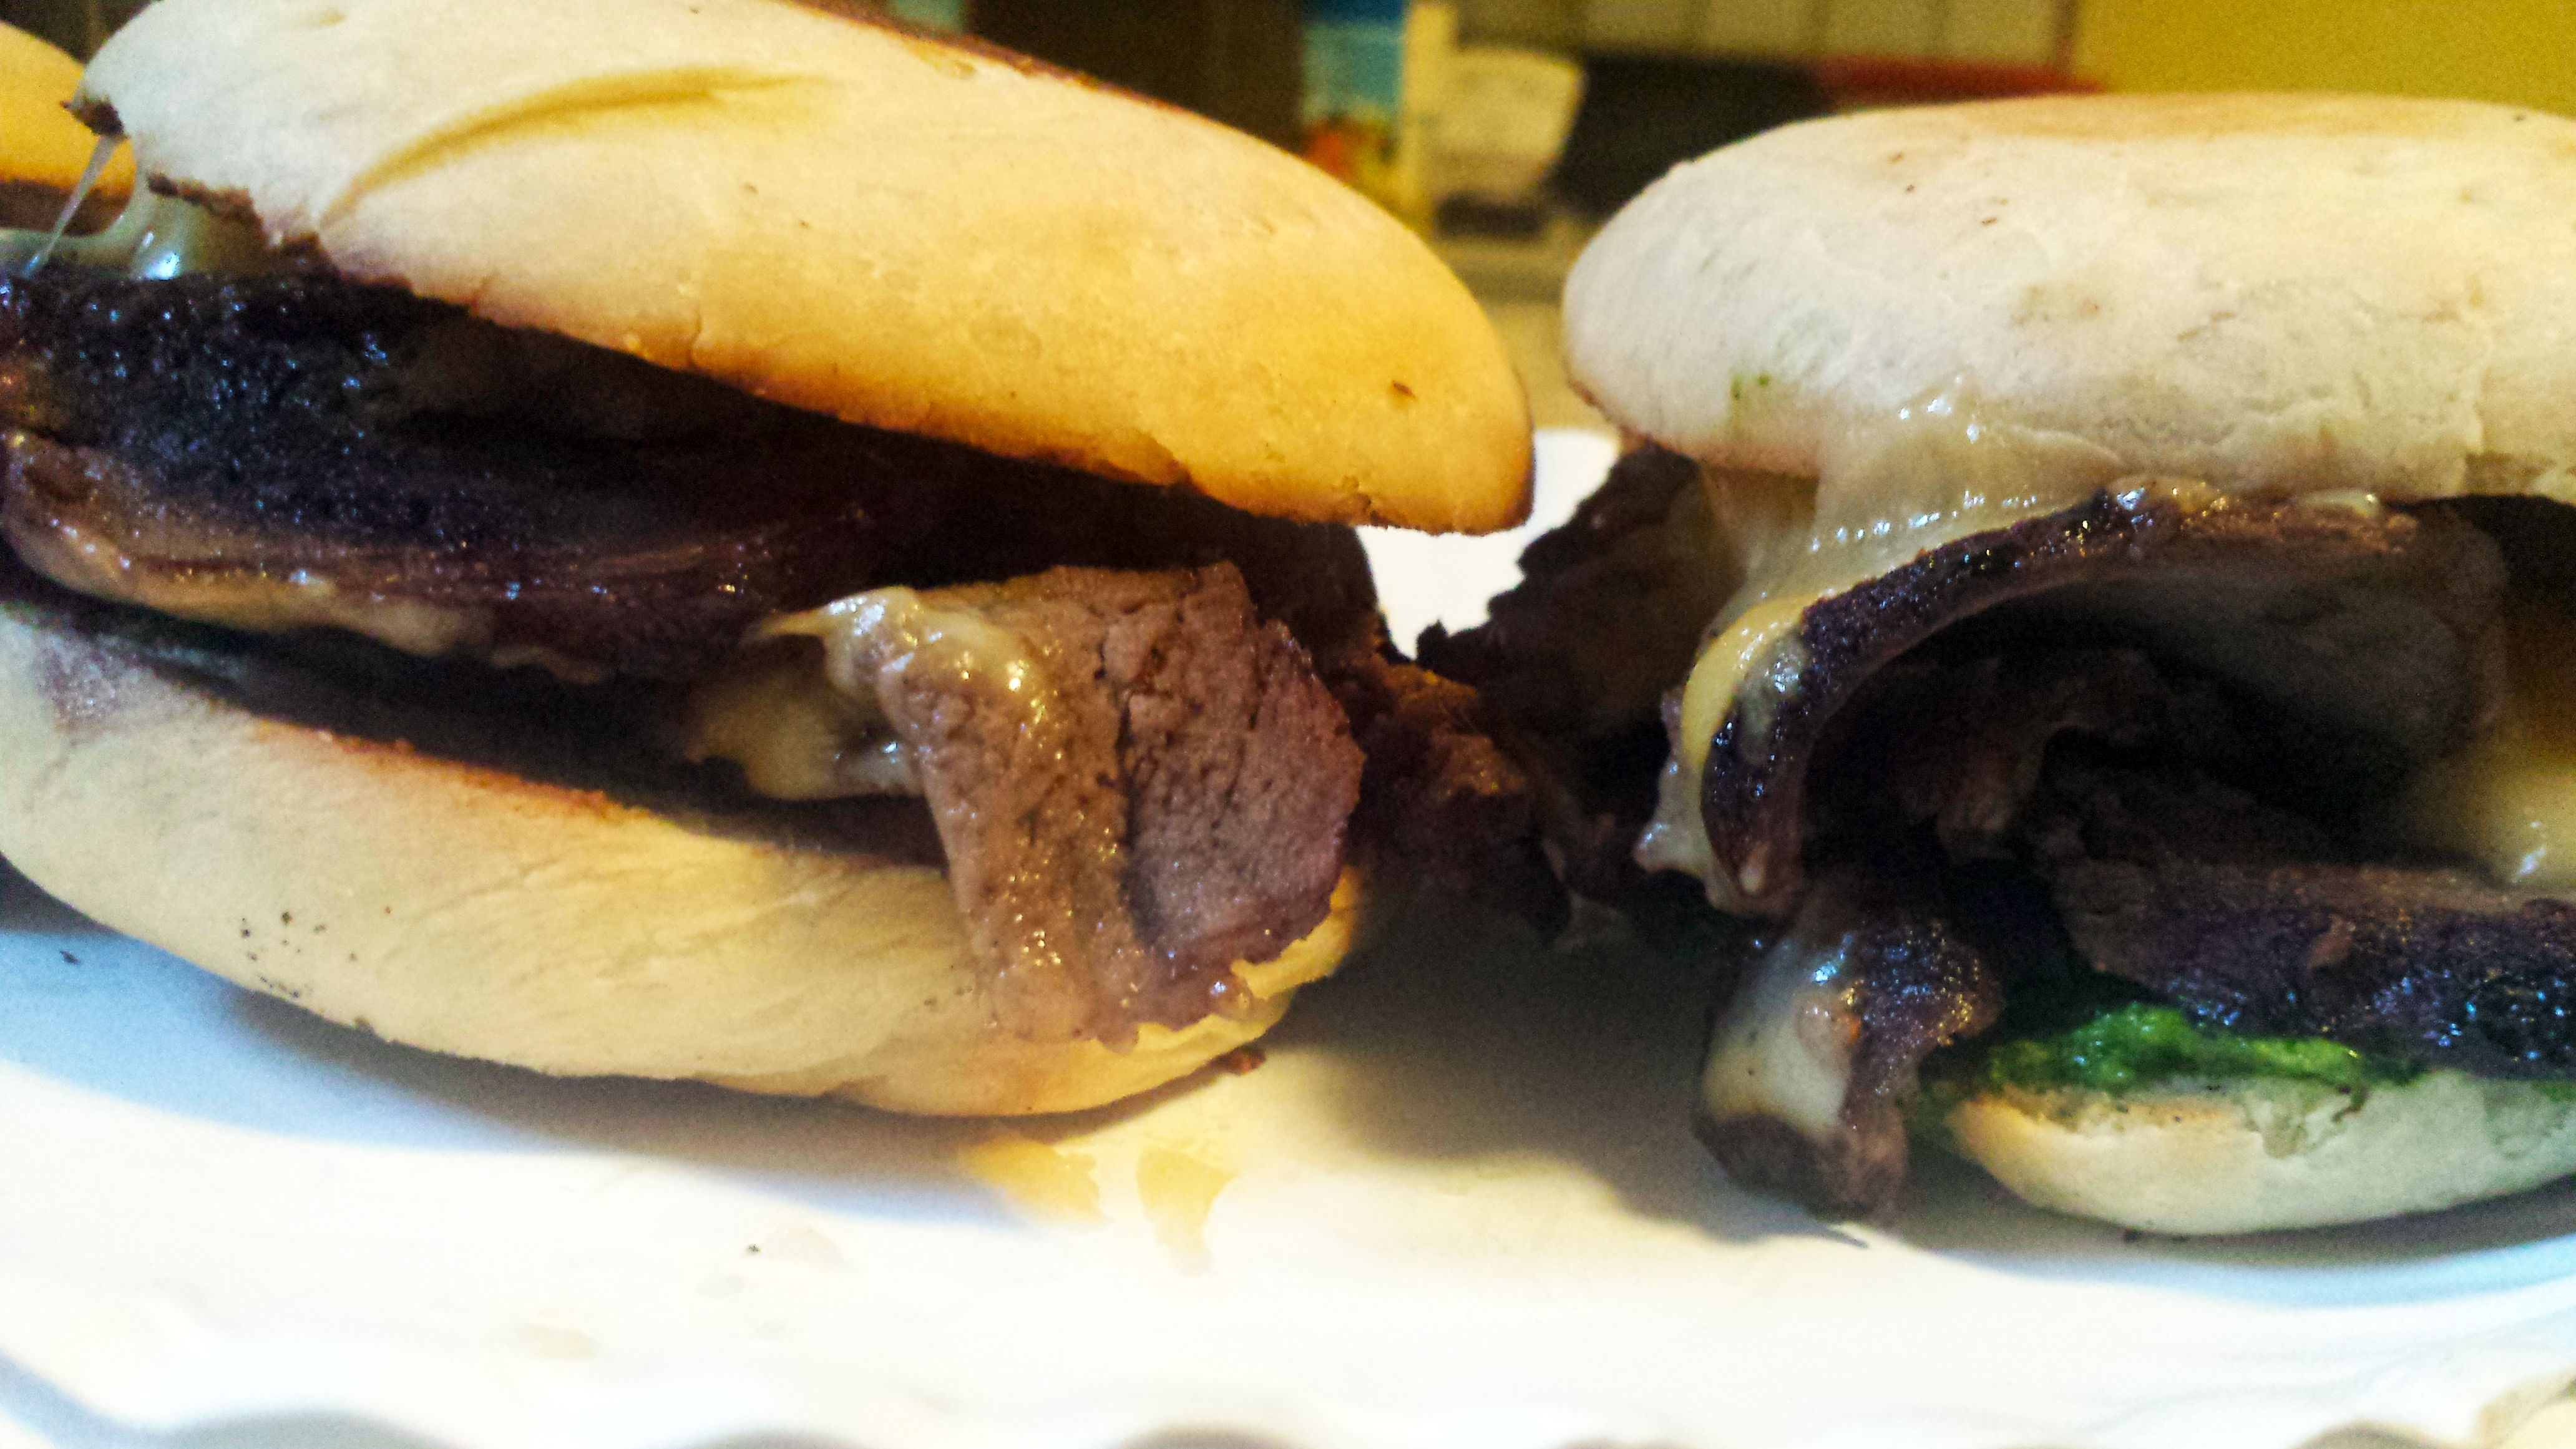
Now I had 4 sandwiches, and nowhere near enough stomach capacity to eat them all. I enlisted the help of my wife Mindy, and we cut each sandwich in half, then in half again, and each took one quarter of each sandwich, leaving the other halves for the kids.
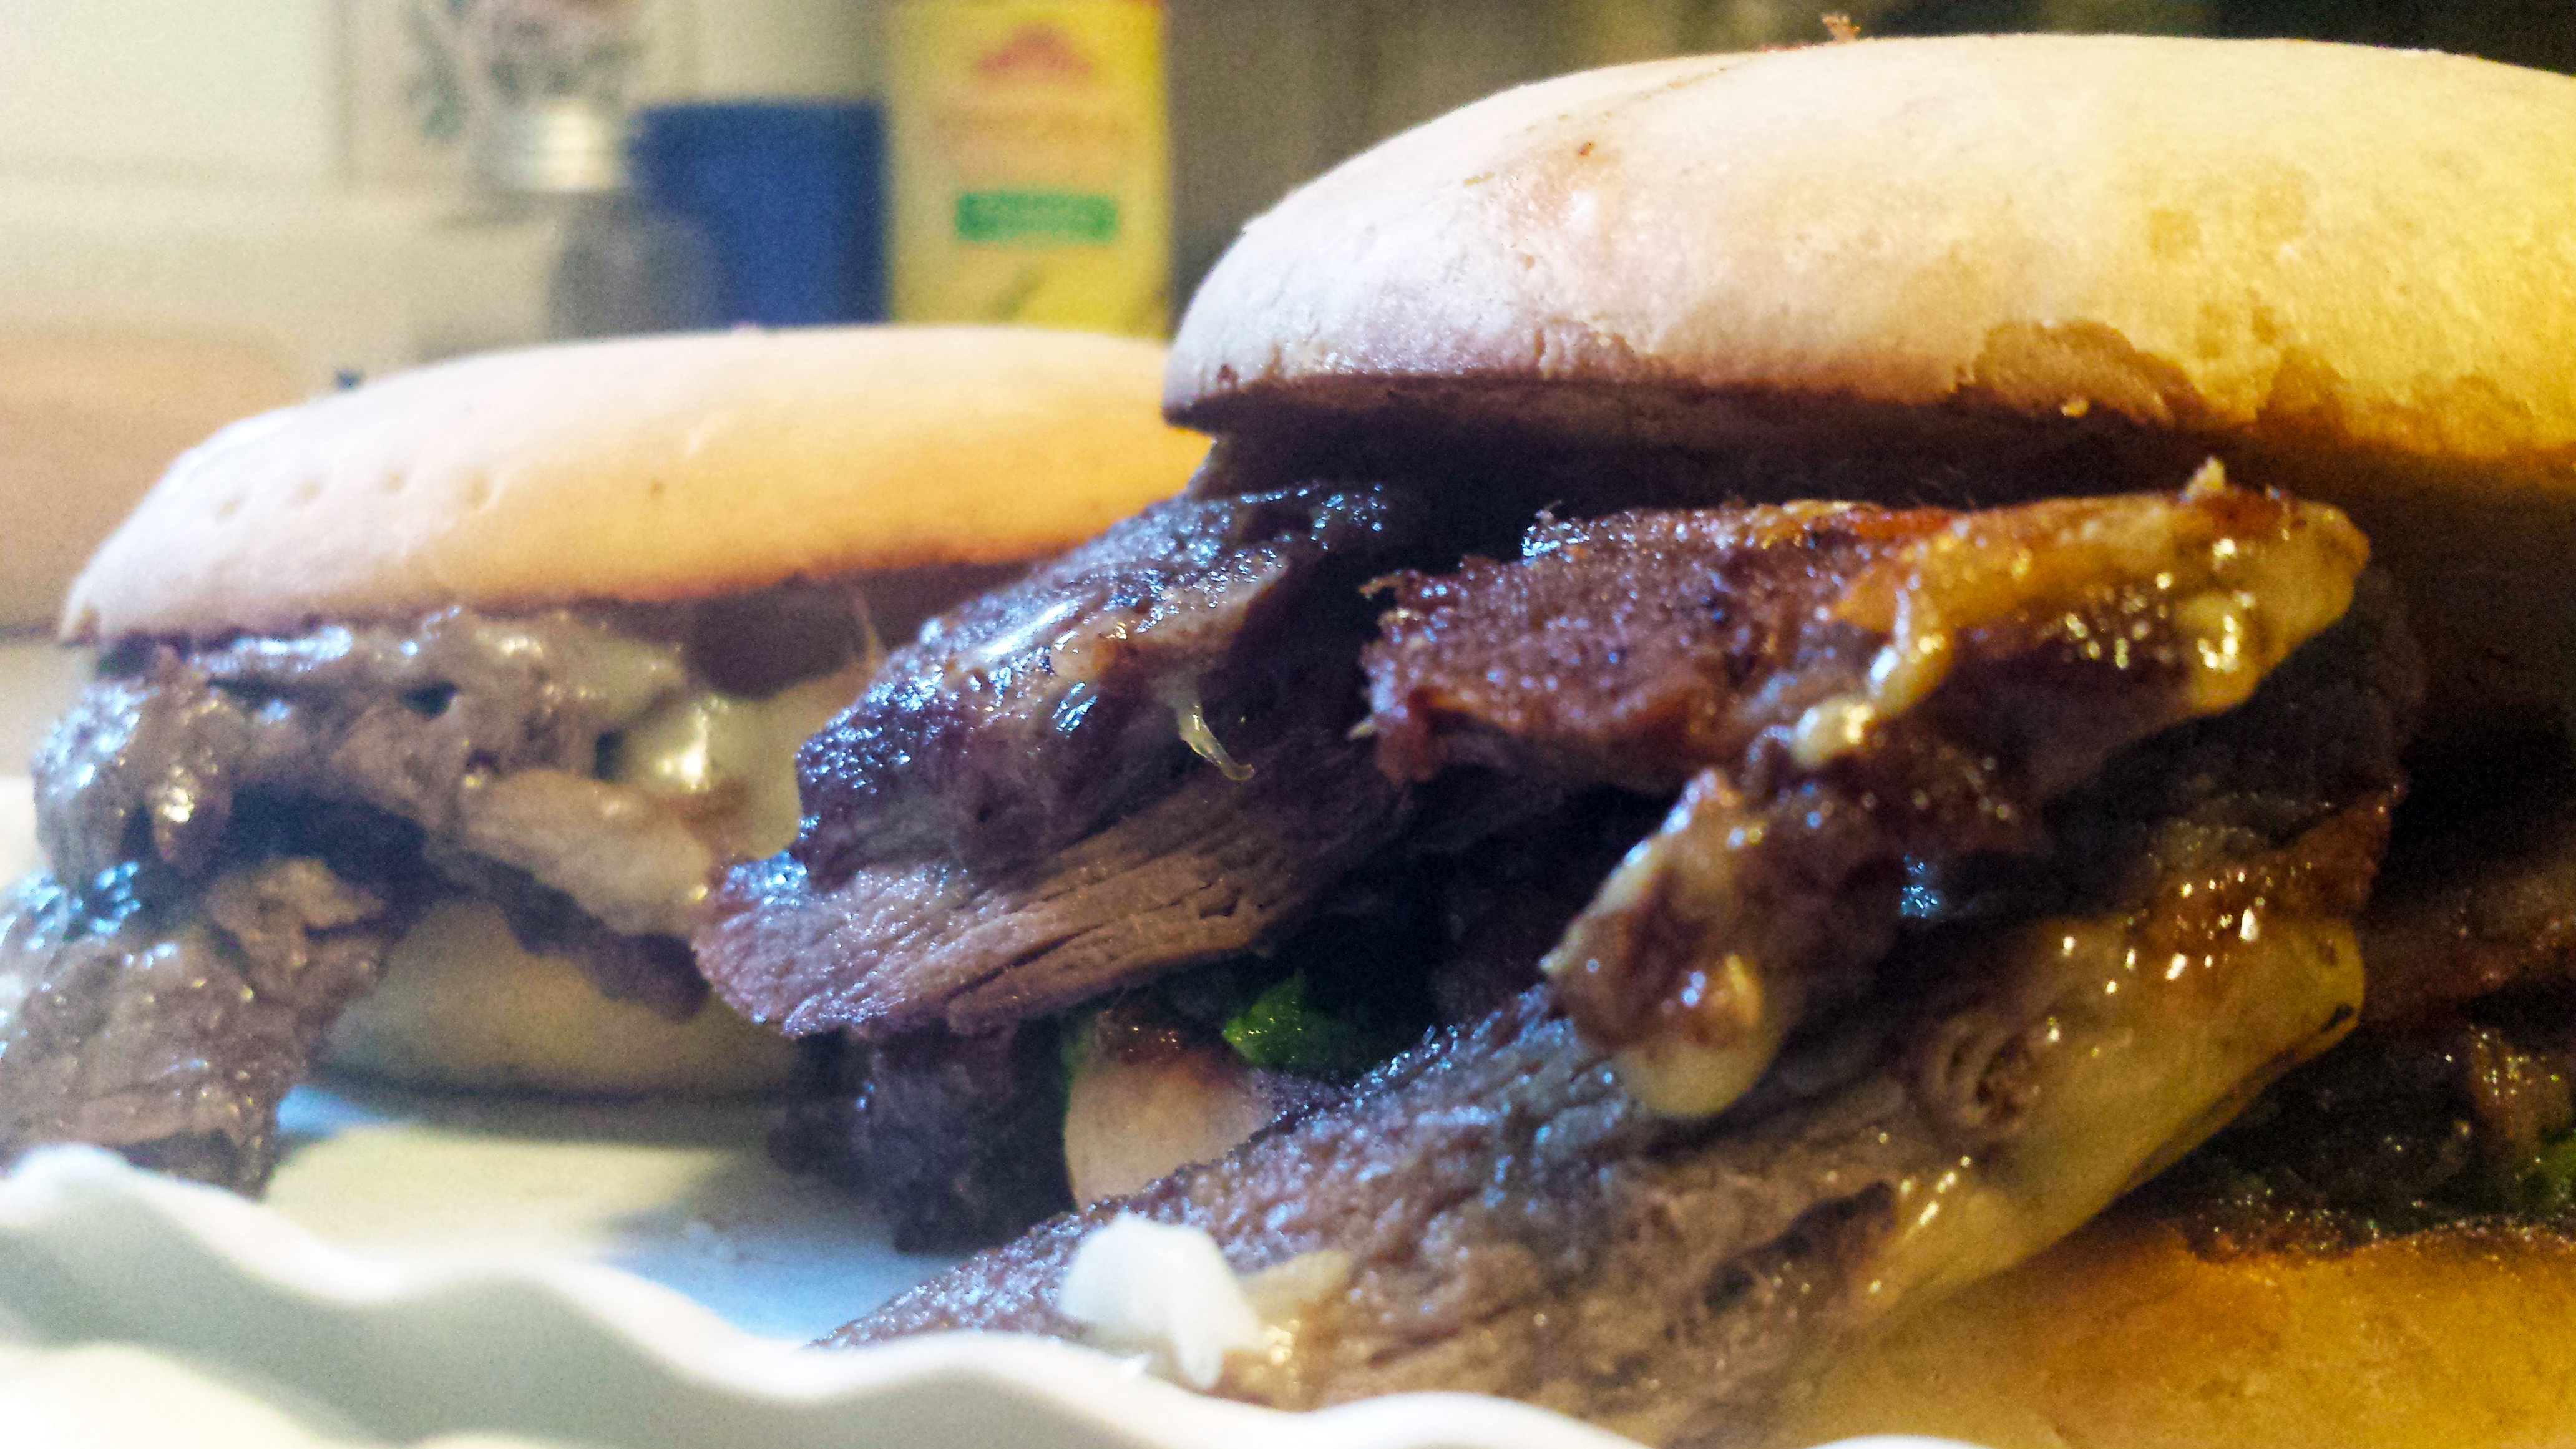
The bread, still fresh and warm from the oven, was sturdy enough to handle the ingredients and juices easily while maintaining its rigid and crisp exterior, yet was also pliant enough that chewing wasn’t a chore. We quickly determined that we loved the sandwiches with the pebre, and Mindy added more of the cilantro sauce to her sandwich wedges. She also had the brilliant idea of adding some of the homemade mayonnaise left over from my previous post on banh mi. The salty, citrusy, and sriracha-enhanced homemade mayo played very well with the flavor of the pebre, and the additional moisture probably helped make up for the somewhat overdone meat.
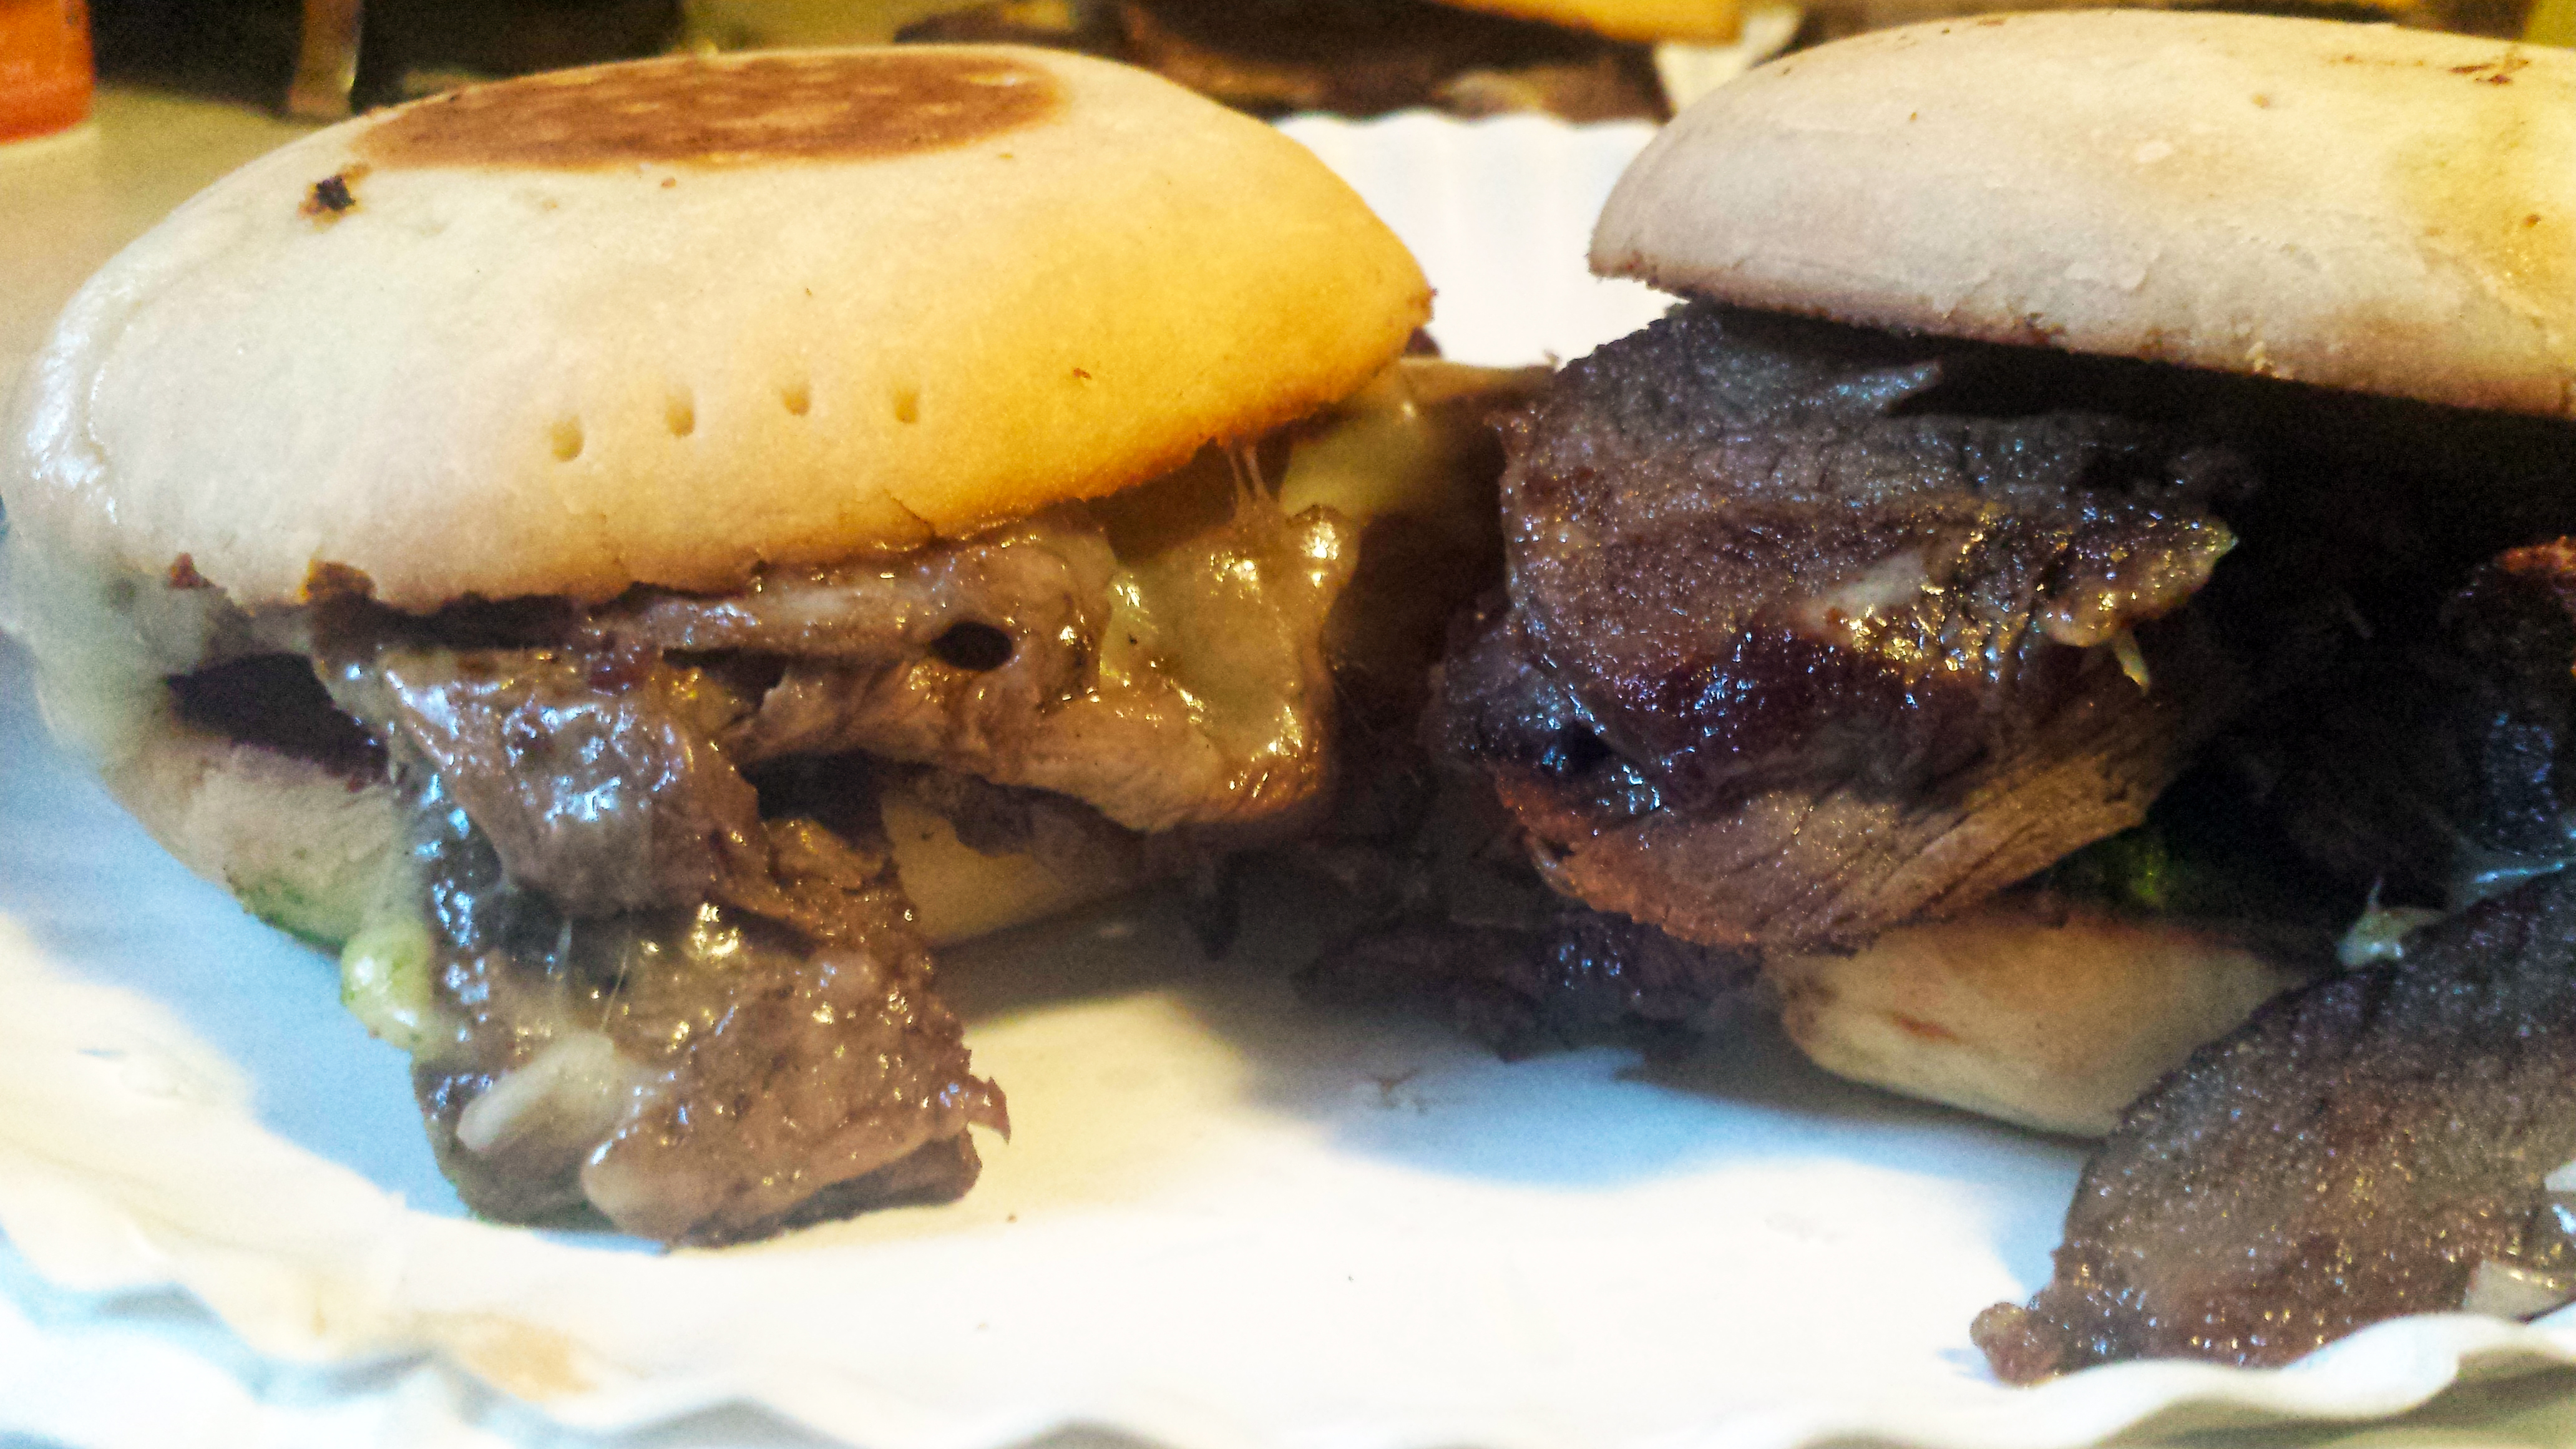
I preferred the havarti cheese with the steak as I suspected I would–whereas I stand by my previous statement that gouda was the natural pairing for ham–but Mindy did not express a cheese preference. The boys devoured their share of the sandwiches in a whirlwind, also without expressing a cheese preference, though they all seemed to prefer the sandwiches with pebre to those without. I guess I know how to get them to eat things that are green now.
This is a fantastic sandwich, though I don’t think I added as much cheese as some of the examples I’ve seen online. If I hadn’t been trying multiple sandwiches with different cheeses, I might have taken a tip from the Brazilian bauru sandwich we’re also trying this month and melted the cheese in a double boiler before adding it to the sandwich. Or maybe I could follow the technique shown in this video, about 3:25 in, where thin, pounded pieces of steak are cooked directly on the griddle with the cheese melted right on top of them.
I’m sure there are a wide variety of roads that can lead to a delicious steak and cheese sandwich, whether it’s a Barros Luco, a Philly cheesesteak, or even the “pizza cheese steak sub” a joint in my hometown used to serve. (I miss those terrible old things.) I’m happy with the way I chose to approach this one, even if I could have done a better job in some of the details. I hope if anybody reading this tries to make one, they’ll improve on my version thanks to what I learned. I will definitely be building a better model in the future.
UPDATE: I made another sandwich this morning and Mindy took pictures of me eating it at the request of the Chilean journalist who wrote about me last time. However, he has informed me that adding pebre to the sandwich means it’s not a barros luco anymore. A barros luco has steak and cheese and that’s it! They sure do take their sandwiches seriously in Chile! (See item #4 here) So he apparently can’t use these photos, but here’s one for you fine folks.


I like sandwiches.
I like a lot of other things too but sandwiches are pretty great


Man that looks good. Definately going to try out the Pebre.
Excellent work! I know you say you’re not a baker, but those rolls look pretty good. What kind of flour are you using?
For these I just used all purpose flour. For my next trick I’ll be making kummelweck and I think I’ll need some high-gluten bread flour for that. And then we’ll see what a terrible baker I am 🙂
Yeah, see I haven’t baked for a while, but I remember I noticed a real difference between using plain (all purpose, to you) flour and hard bread flour. There’s also another thing that I used for baking bagels which tends to be called ‘european bread flour’ or something, which is different again… I was kneading by hand, rather than machine, but I’d think that machine makes for a fluffier bread anyway, if that’s what you’re after….
I use the stand mixer with the bread hook out of sheer laziness 🙂
Going to try this tomorrow night – thanks for the tips!